fuzzy fat pods hang
drooping from scrawny stems, then
a pop-py bursts forth
a pop-py
by Angie Quantrell
Yakima Valley

fuzzy fat pods hang
drooping from scrawny stems, then
a pop-py bursts forth
a pop-py
by Angie Quantrell
Yakima Valley

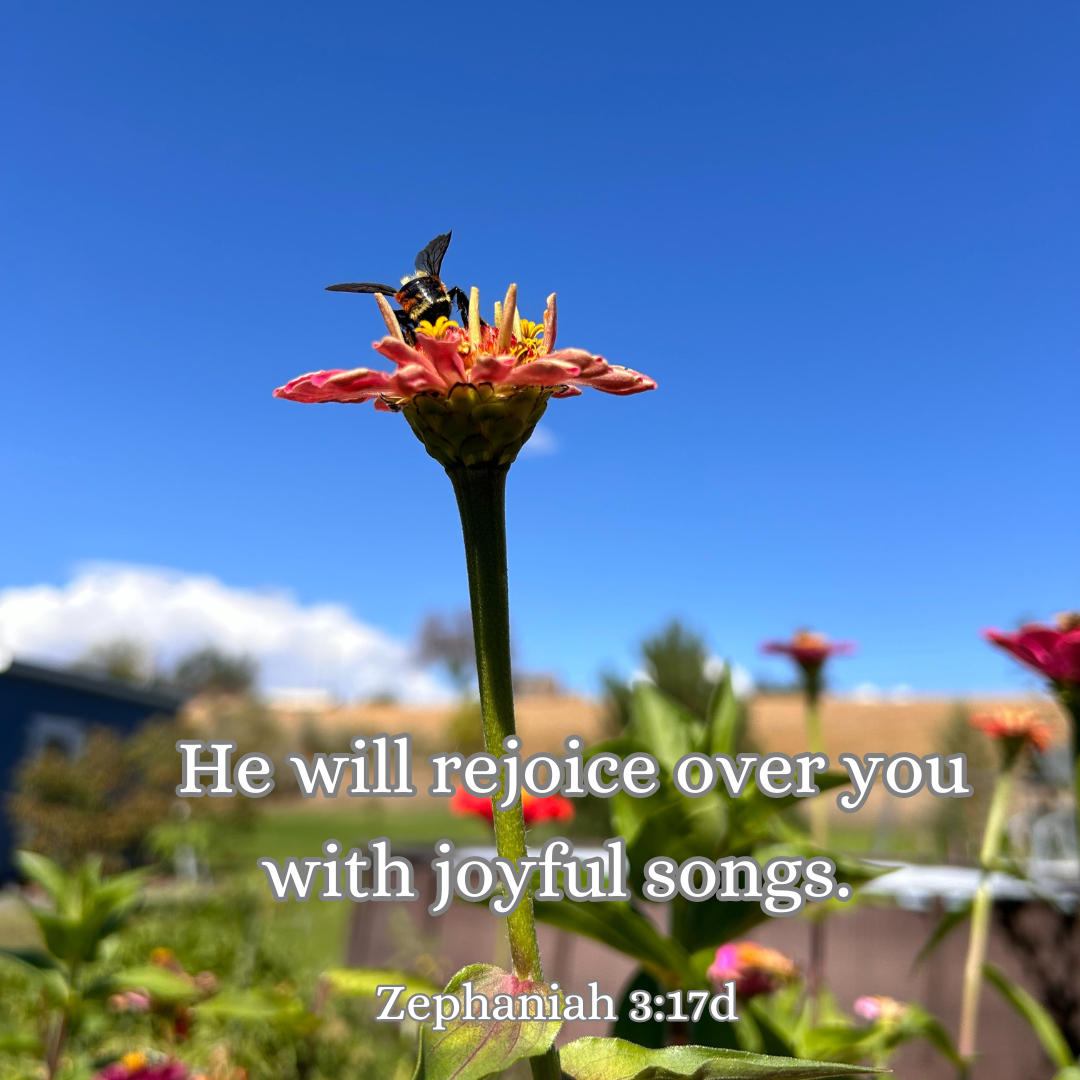
Wishing you a beautiful day!

pause, observe, alert!
feline surveys her queendom
sentry on duty
sentry by Angie Quantrell
Monet in the Yakima Valley

I love that so many people were interested in my pumpkin pucks and the resulting pumpkin scones. I’ve had questions about both, so here are my directions to preserve your own pumpkin pucks and bake up these dreamy pumpkin scones.

PUMPKIN PUCKS
Heat oven to 350 degrees.
Ingredients: sugar pie pumpkin, olive oil
Wash your pumpkin. Cut it in half, scoop out the seeds and stringy bits, and cover both inside and outside with olive oil. Place the halves face down on a parchment paper covered cookie sheet. Use a fork to poke holes all over the two halves. Bake until all areas are tender. My first batch I didn’t quite cook the pumpkin long enough, and some areas were a little hard. This will usually take at least an hour, depending on the size of your pumpkin. Check after an hour and keep going until a fork easily pierces all areas.
Cool. Scoop the pumpkin flesh out and a fill 1/2 cup plastic measuring cup with pumpkin. Slam (to release the pumpkin) the pumpkin on a parchment paper covered cookie sheet. This will form the “puck” shape. Continue with all the cooked pumpkin. If there is any remaining, divide the rest between all the pucks. Freeze until solid. Place the pucks in freezer bags. Store in the freezer until needed. They unthaw pretty quickly, but if you want to use 1/2 cup of pumpkin, pull it out the day before and let it thaw in the fridge. Ta-dah!

PUMPKIN SCONES
Preheat oven to 375 degrees.
Ingredients:
2 cups flour (we love whole wheat)
1/2 cup brown sugar
1/2 tsp. ground ginger
1 tsp. nutmeg
1/2 tsp. allspice
1 heaping tsp. cinnamon
1 tsp. pumpkin spice
1 tsp. baking powder
1/4 tsp. baking soda
1/4 tsp. salt
1/2 cup cold butter
1/3 cup buttermilk (I never have this on hand, so I add about 1 T. vinegar to the milk and let it curdle)
1/2 cup pumpkin (1 PUMPKIN PUCK, thawed)
1 tsp. vanilla
Mix together flour, sugar, spices, baking powder, baking soda, and salt in a large bowl. Use a pastry knife to cut the butter in until it is well crumbled.
In a separate bowl, whisk together the pumpkin, milk, and vanilla. Add to the dry mixture. Mix just until the dough comes together.
Lightly flour a surface and put the dough on it. Gently knead the dough a few times and pat it into a circle about 1 1/2 inches thick. Use a knife to cut the dough in half, then in quarters, and then in eighths (final scone count is 8). Place untouching on a parchment paper covered cookie sheet.
Bake about 20 minutes, until a toothpick comes out clean. Remove to a cooling rack to cool.
PUMPKIN SPICE GLAZE
Ingredients: powdered sugar, pumpkin spice, water
(I apologize in advance. I do not measure this, but rather go by “it’s done when it will pour over my scones.”)
Place about 1 1/2 cup powdered sugar in a bowl. Add about 1 tsp. pumpkin spice. Add water by 1 tsp. at a time, using a whisk to mix the glaze. Stop adding water when the glaze stirs easily but is not runny. (I know!! I did apologize in advance!) If you get too much water, add small amounts of powdered sugar to get the consistency you want.
Drizzle the glaze over the scones while they are still on the cooling rack. This is messy since the glaze drips off the bottom, but you can place the cooling rack back on the cookie sheet so it drips onto the cookie sheet instead of your surface.
Enjoy!
Hooray for homegrown sugar pie pumpkins!


Our garden produced a bumper crop of pumpkins this year. Maybe because I replanted them over and over due to the mysterious disappearances of seeds, sprouts, and evidence of any plant life! You can read our final pumpkin counts here.
Decorating around the RV, Huckleberry Hutch, and sending home numerous glorious orbs with the grands and their parents helped disperse the wealth. But also, I baked two. Only two so far, as there are three more that remain unfrozen I can bake.
Just in case you are wondering, once the outside pumpkins freeze, I do not cook them. But after the season, we give our outdoor fall decor to the turkeys, chickens, geese, and goats who live next door. They LOVE harvest as much as we do.

From the baked pumpkin, I made 1/2 cup pucks. That’s what I’m calling them. Pumpkin pucks. Most recipes seem to call for 1/2 cup pumpkin. So there you have it. The pucks remain nicely frozen in the freezer, and I pull one out whenever I want to use one. They don’t even take that long to unthaw.

Et voila, pumpkin scones! We love these spicy treats. Any pumpkin scone recipe will work. Just double the spices. I’m serious. We love that burst of flavor. I double all the spices. We use whole wheat flour and my husband prefers his without the pumpkin spice glaze.
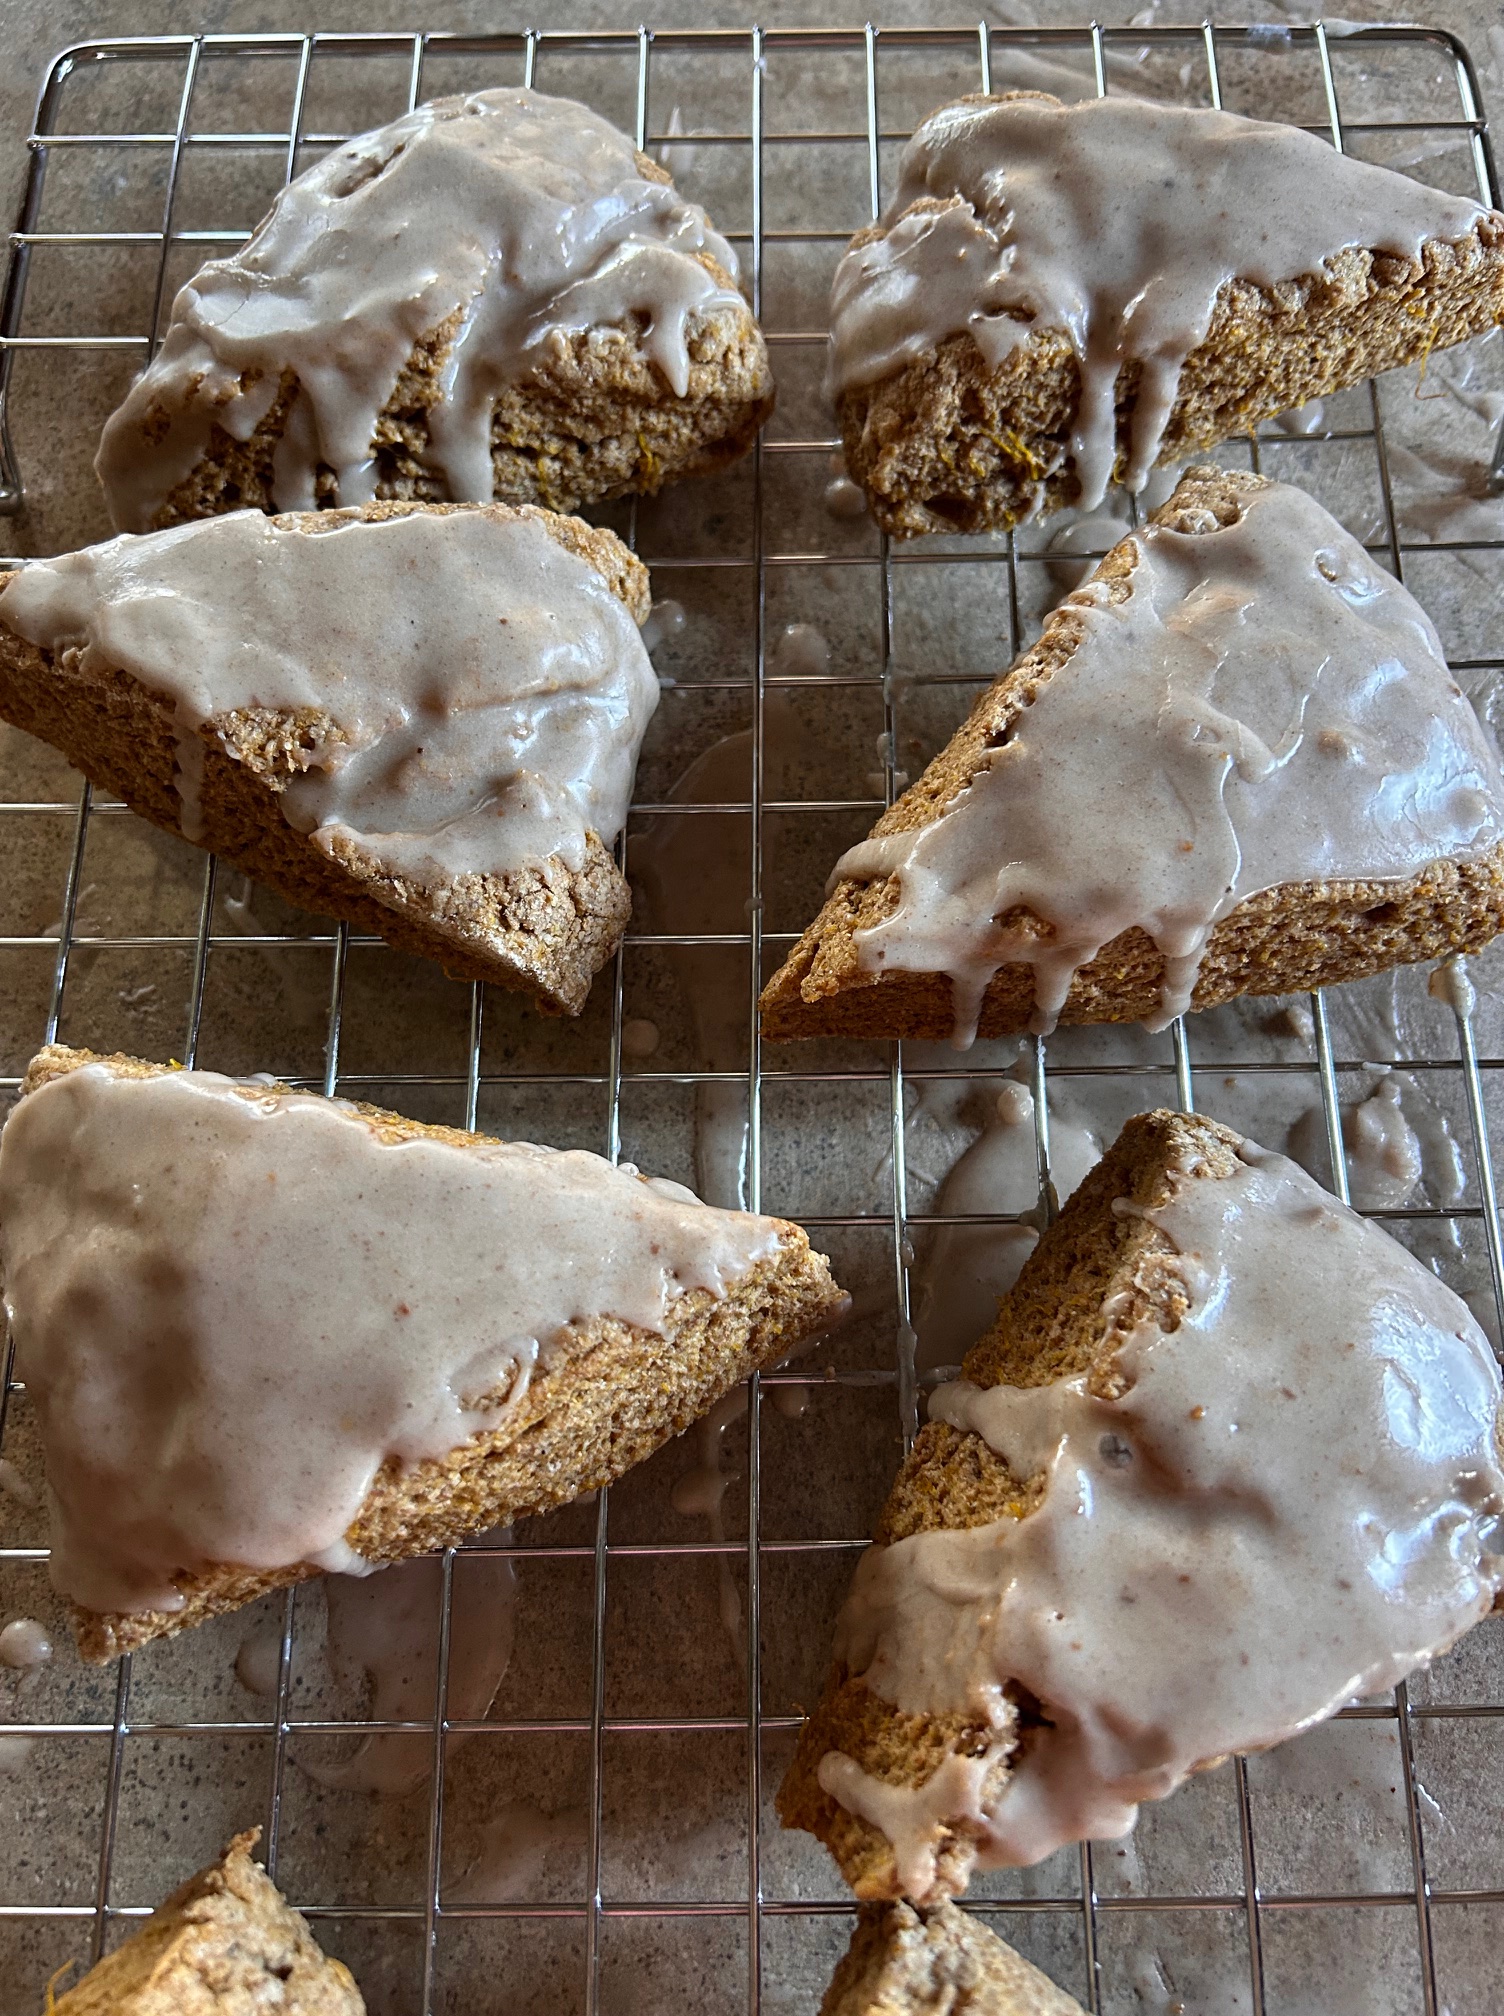
From pumpkin, to puck, to treat. Delish!
What is your favorite pumpkin treat? I have plenty of 1/2 cup pucks to try it!

autumn darkness falls
sprinkles icy trim around
petals wearing frost
wearing frost by Angie Quantrell
Yakima Valley

Despite the disappointing beginning of repeated plantings, low number of sprouting seeds, and nibbling of sprouts by bird and pest alike, we had quite a successful pumpkin harvest. And I say bring on fall! I love pumpkins and I love autumn! Decorating with homegrown pumpkins is so rewarding.

Read to the bottom for the final count. The photo above shows the “big” pumpkins from the garden. In the carving world, they really are medium sized to small, but in my garden, they are the big ones. Also notice the random yellow squash. I harvested 2. I replanted zucchini and yellow squash multiple times. The end results were zucchini: 0. Yellow squash: 2.

The table above was one of our distribution points. Pumpkins available for adoption were placed on the lovely garden table made earlier this year by my honey.

Above is yet another adoption table, covered with the big pumpkins. This table was also made by my honey, but a few years back, so it has lovely weathered wood.

Above is the first harvest of the minis. So cute and adorable, and perfect for every nook and cranny. I will definitely plant these again. They are so much fun, and pretty aggressive climbers. We watched them creep up sunflowers, pine trees, and any other item taller than themselves. Note, this is another table made by the honey. This one is fresh and needs weathering.
The hand belongs to my grand, Donavyn. He is the one who arranged the minis by color. I loved that! Donavyn and Autumn were thrilled to help with the pumpkin hunt and retrieval.

This is the final harvest from the new planting box out in the pasture. Whoa! A surprising number of big and small pumpkins. Plus, I had tossed in sprouting potatoes and other compost at the “fill the box with stuff and dirt stage,” not thinking what might happen. Potatoes happened! I pulled out the “weeds,” and potatoes were attached to the bottom! How fun is that! That’s why I like experimenting in the garden.
Drum roll please. The final totals for pumpkins harvested this year are:
Big pumpkins: 42
Mini pumpkins: 87
Thankful for a great harvest! Bring on fall.