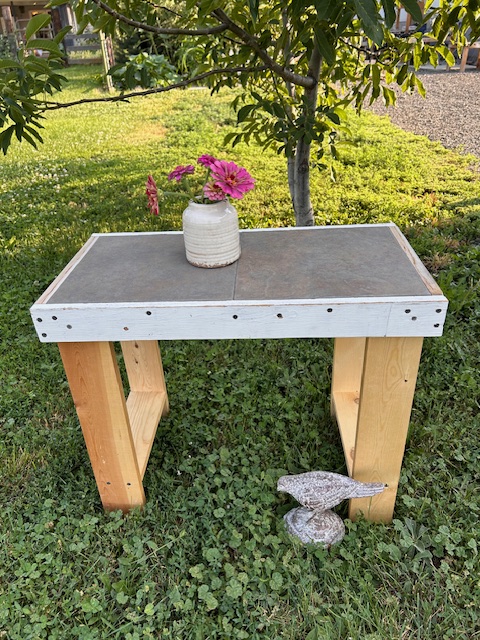
My honey LOVES using up scrap wood to make garden tables. Mostly for me. 🙂 But he has gifted them to others.
Here are two of the newest projects. The small table used 2 slates from an old outdoor table and wood scraps from other projects. We always use the tables he makes outside and let them weather naturally. But this baby is inside Huckleberry Hutch, sitting perfectly beside my reading chair. Already topped with books. I might have to sneak it out sometimes to get some weathering going on.
Monet approves of this table. Actually, she approves of both tables.
The second table is also composed of wood scraps. It is solid! I love the long length and the design. This will stay outside where the elements will weather it to a lovely gray. We are using this one on the patio just outside the abode. Perfect!
I love the new additions to my Huckleberry and garden. Save those wood scraps and you can make awesome creations as well! Thanks, my love.
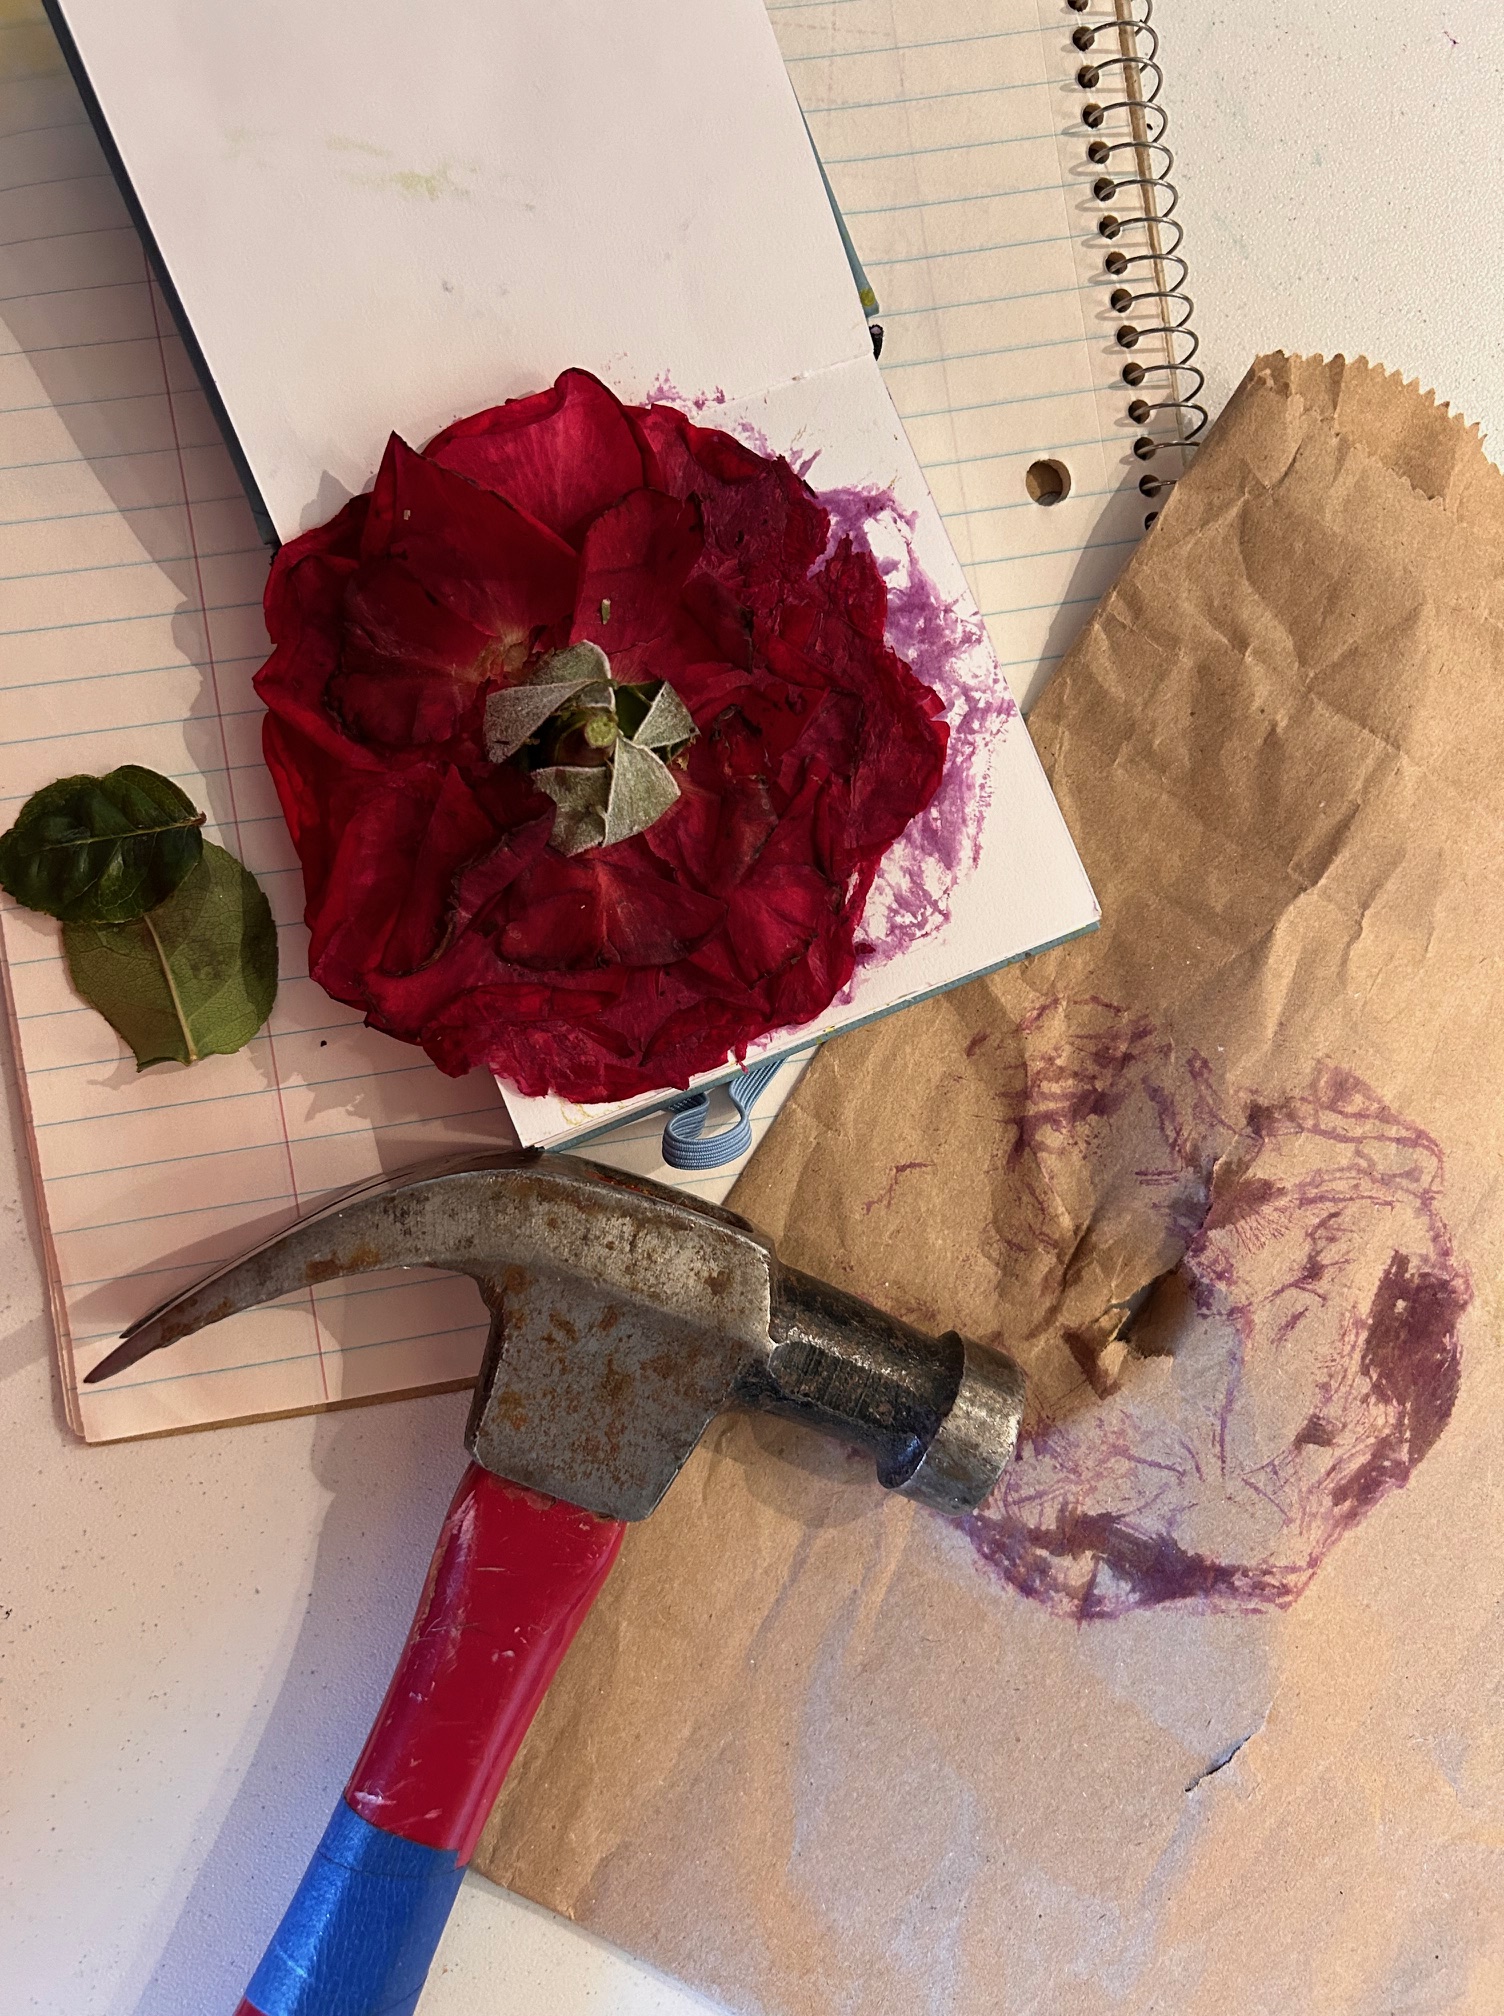
My pansies and Johnny-jump-ups are fading fast in this heat, so I took a few hours to hammer flowers. I also snuck in a red rose that was nearing the end, to surprising results!
I haven’t figured out how to keep them firmly in place once I start hammering. I think my table is not as sturdy as it should be, so the whole thing bounces. Whoops. But I am not hammering on my oak table! Bouncing it is.
They turned out so well! These are the only colors that are still flowering, despite my deadheading.
I did one page in my mixed media journal, combining a bunch of inks and “stuff.” And I experimented with card-sized cardstock, which turned out well, but it takes MANY flowers to fit on one of those (I did 5 card fronts). Hammering flowers is a workout! My honey was outside and thought someone in the neighborhood had their bass up too loud. LOL.
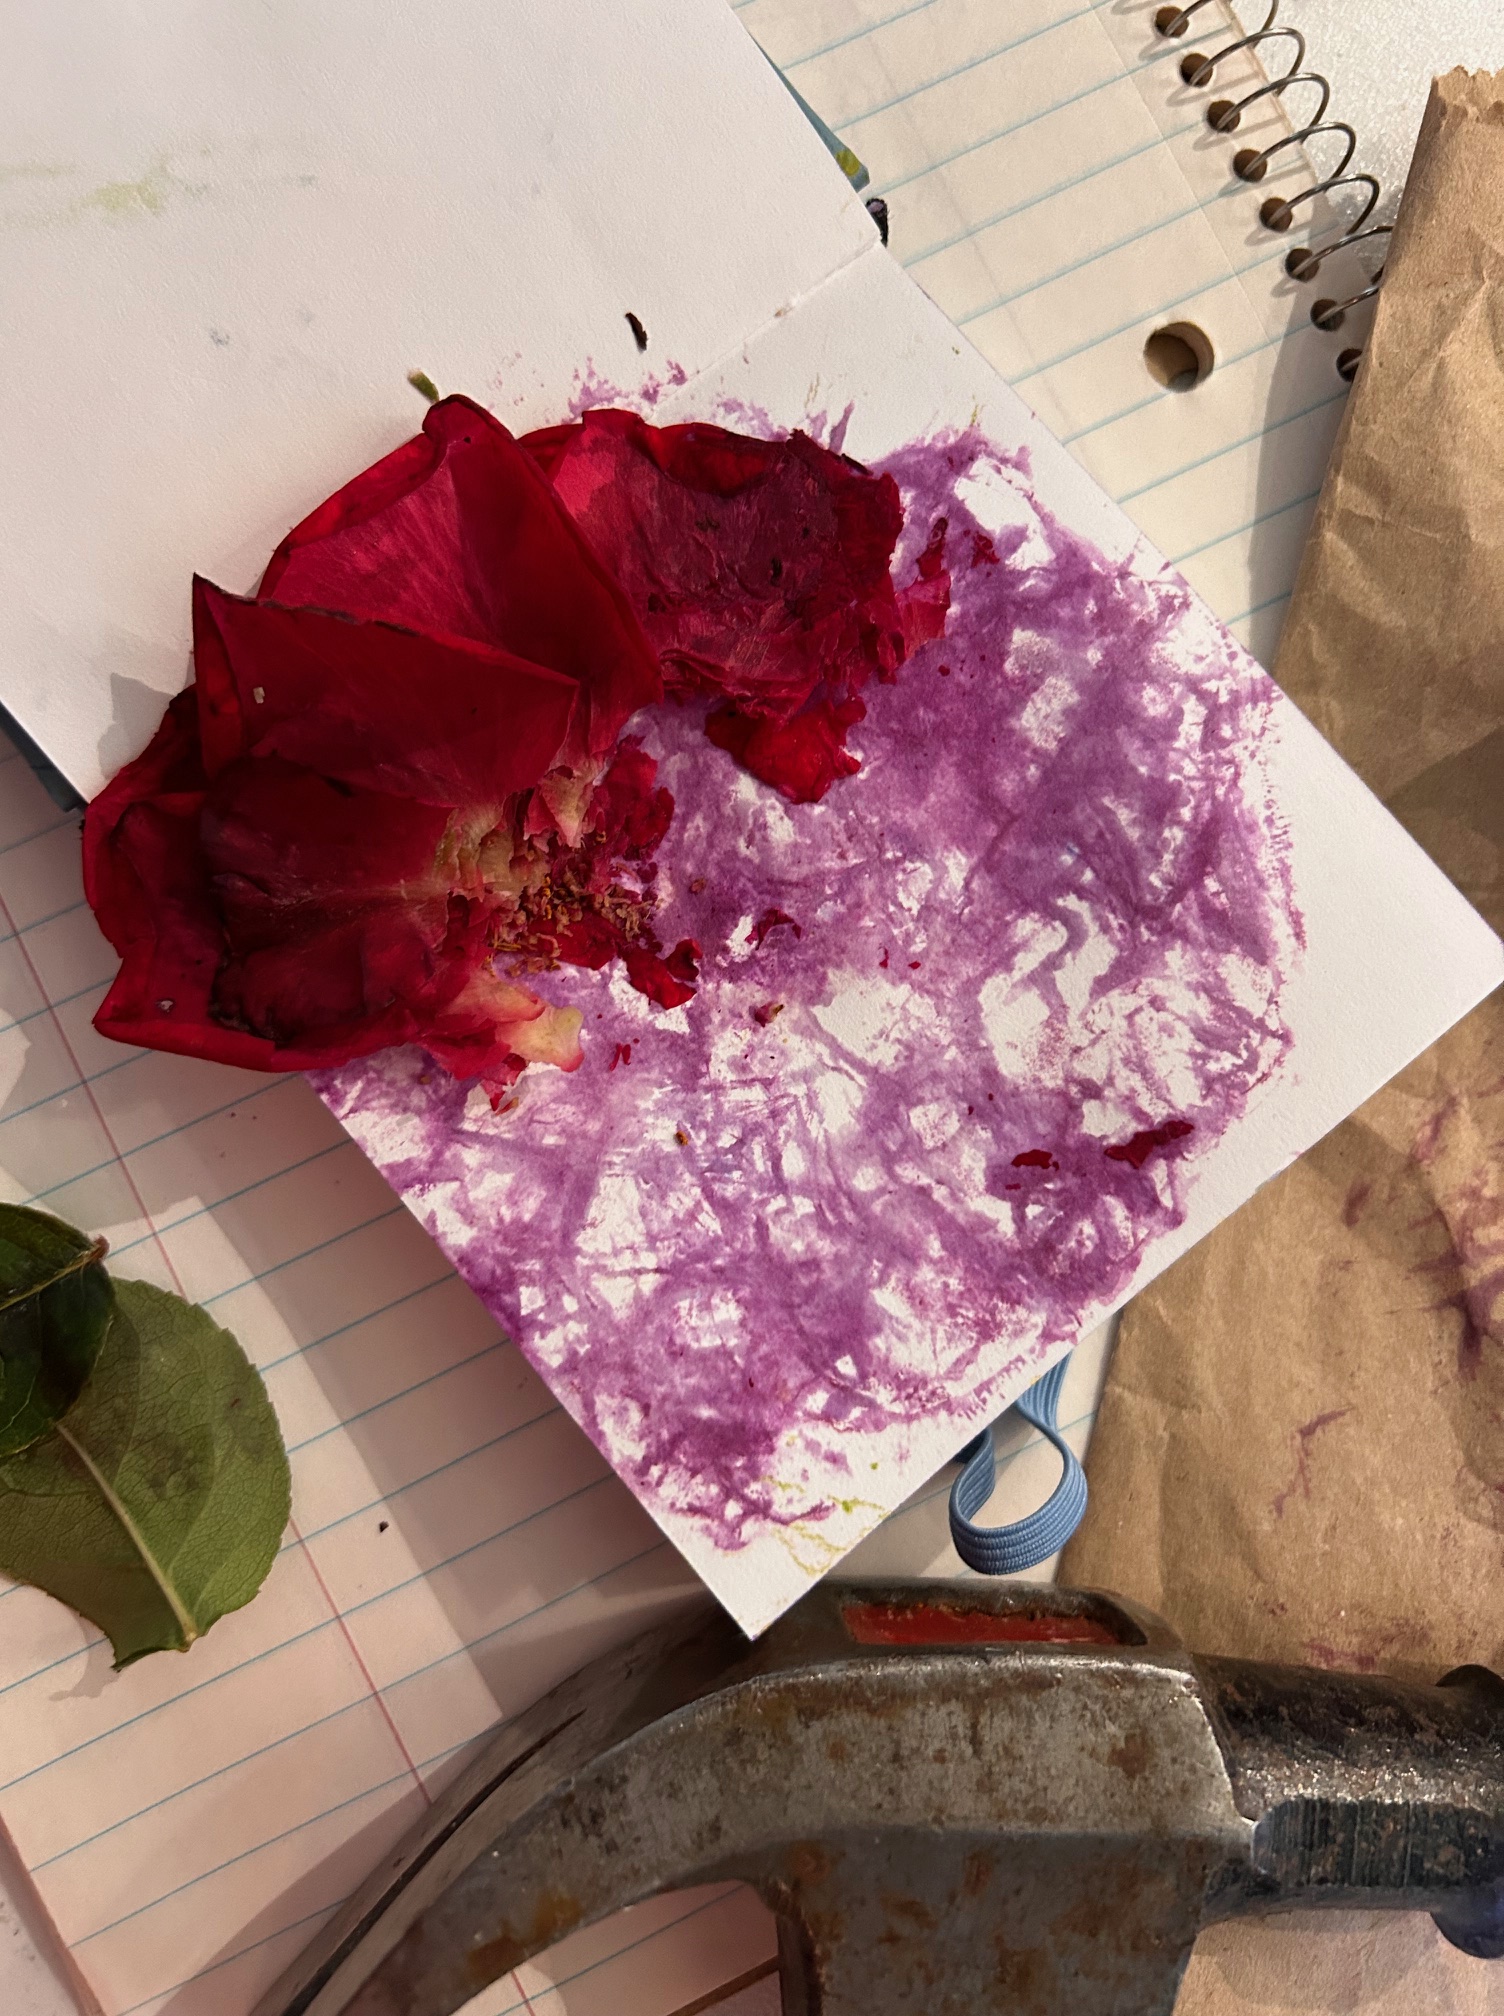
Just look at the surprising color I got from the red rose! I didn’t finish the page in my journal yet, but I was fascinated by the results.
The leaves did not leave any color at all. Too tough and thick.
I have some zinnias getting ready to bloom. I might experiment, but they are pretty thick flowers. Flower hammering. Experimenting is fun. Creating is FUN!
Here is what happened in round 2 of flower hammering. I tell you, pansies make great prints! I don’t have much else of substance blooming yet in the garden, but I’ll keep experimenting as the season goes along.
This is what the cover paper looks like after hammering.
I tried hammering this batch of flowers on paper I’d already added color to. It turned out very nice by the end, and the flower prints give great texture. But I was a bit disappointed that the prints did not turn out as well as I had hoped. At least the yellow/orange ones did not. You can barely see the stem I tried, and darker bits where I added leaves.
The poor smashed flowers.
Here is try number 2. You can see where the prints on the previous page soaked through, which is cool. There is some beneath my arranged flowers as well. The bleed through is at least 2 pages worth. This page is all white except for some bleed through. I crammed the flowers, leaves, and stem with the hope of getting plenty of color.
This is how the back of the cover sheet looks after hammering. Things tend to move around a bit. I start out with the cover paper straight, but by the end, it’s all twisted. It’s hard to hold it still and not hammer your fingers!
Oooooh, yes! This is where I’m getting results. Just look at those pretty pansy faces on the white background! You have to gently peel off the petals, or in some cases, just let them dry and rub them off. Bonus: The cover page also has wonderful colors! I’m saving that for another project.
I LOVE this! I haven’t done anything else with this flower hammering page, but the ideas are brewing. Growing? Smashing? ;0
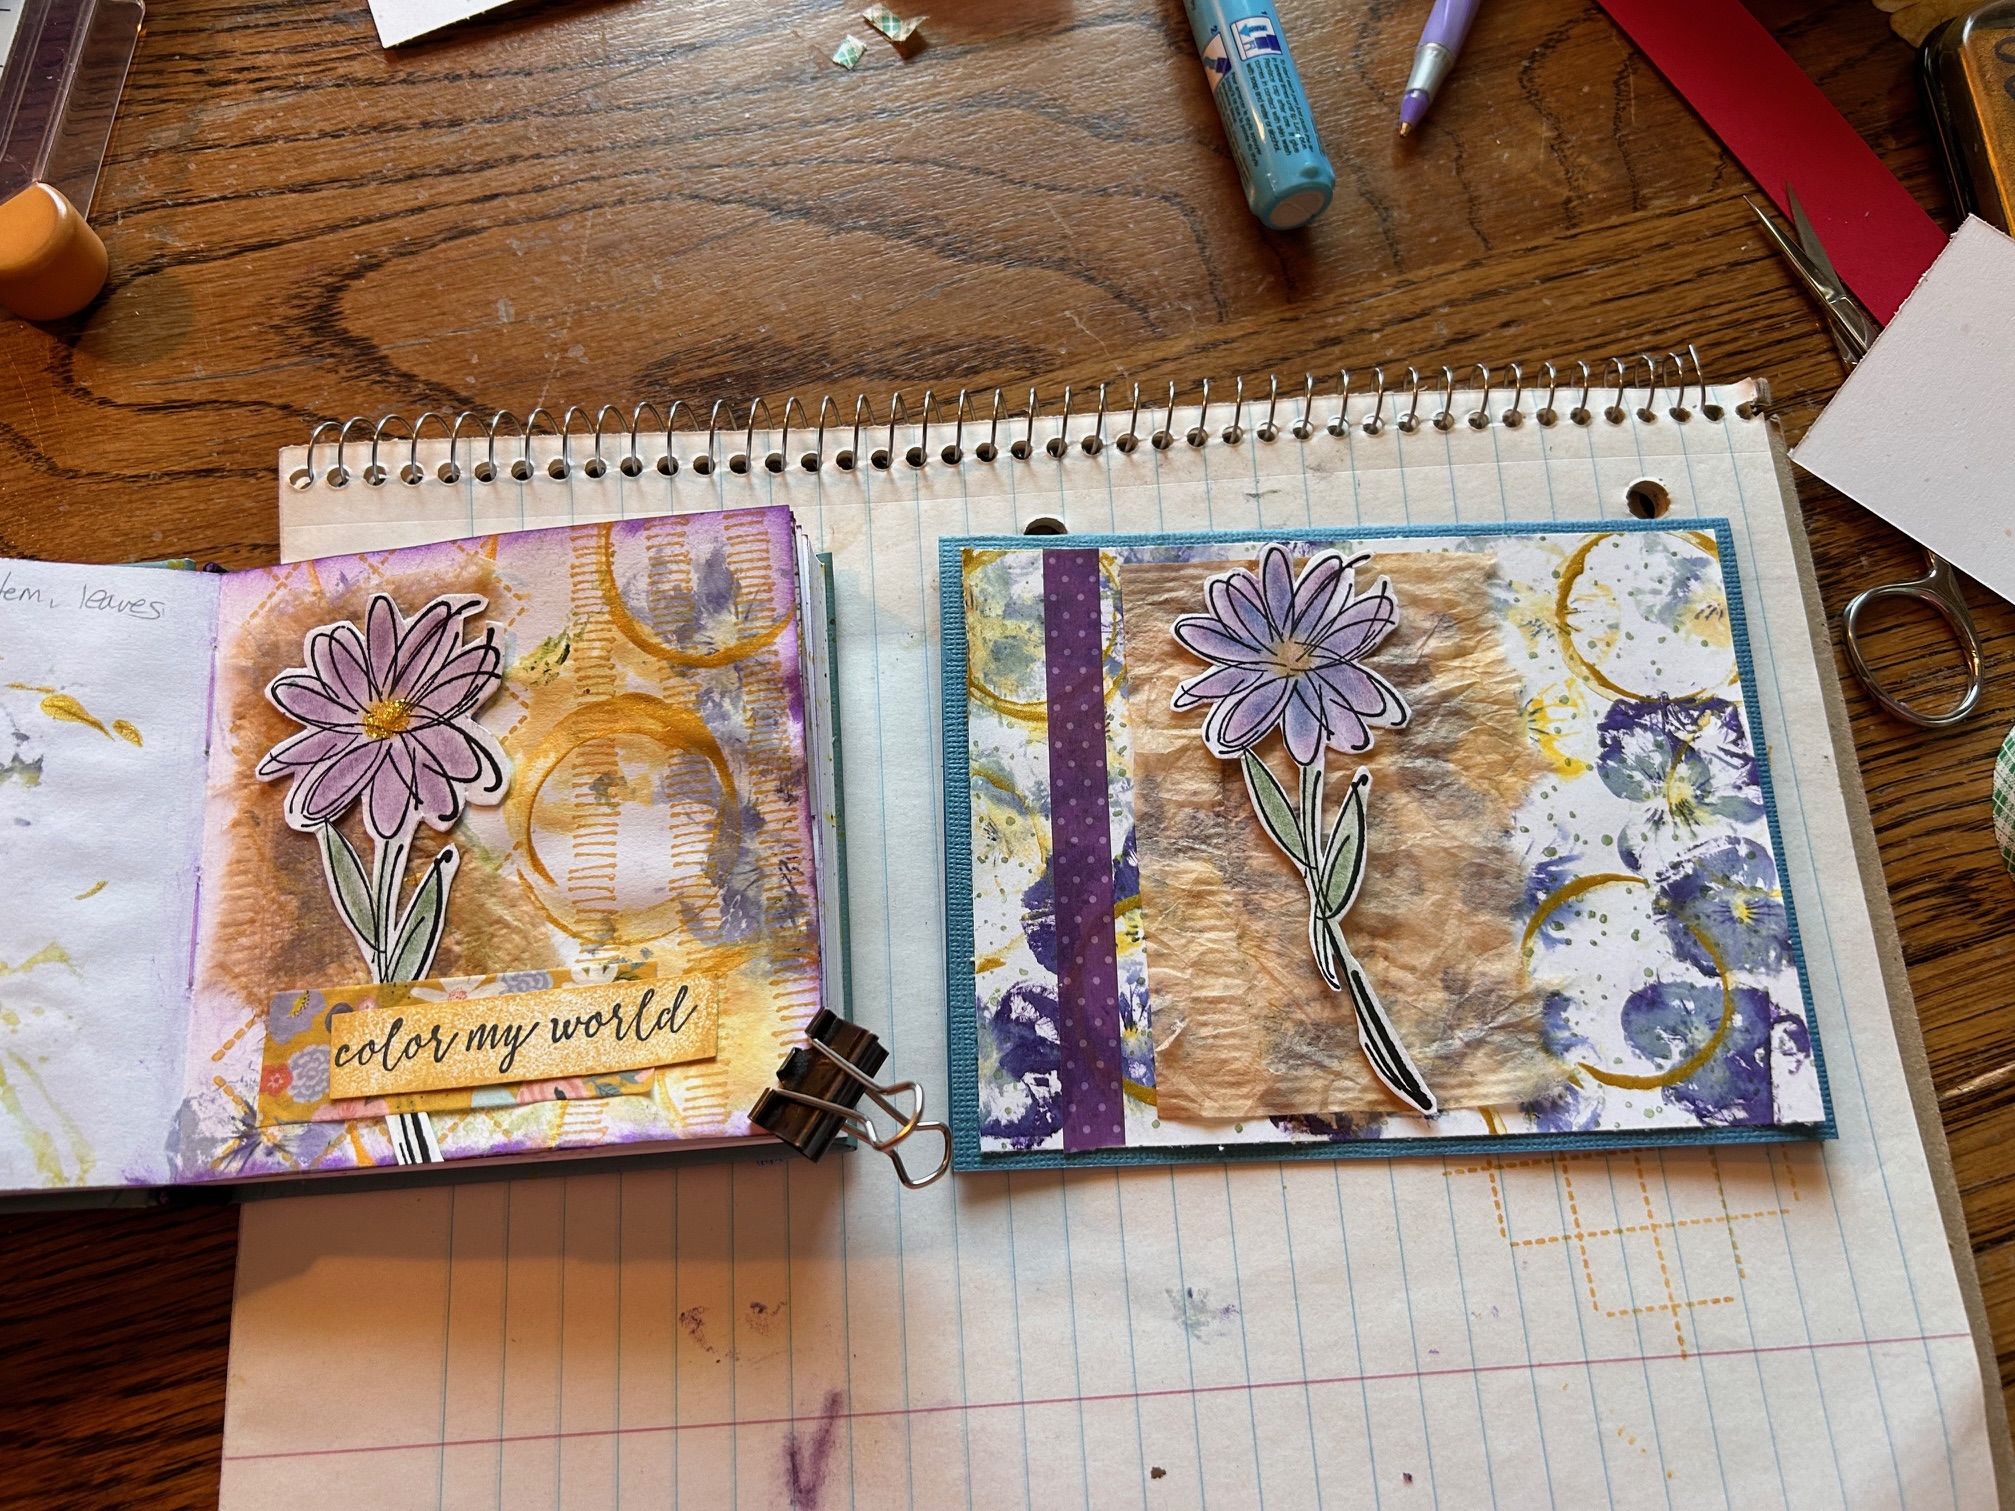
I did go back to the green background page and finished that mixed media project. I LOVE how it turned out! This is one of my favorites so far. The smashed flowers really add texture and the greens tie in so nicely. I saw another creator (several actually) who added circles to their art. So I played with some gold glitter acrylic paint. Wow! Perfect touch. You can see the other materials I used on this page.
Et voila! Stamp pads, rubber stamps, hammered flowers, chalks, washi tape, acrylic paint, colored pencils. Plus a stick for painting and an empty tape-dispenser plastic disc for the circles.
Have you tried flower hammering? Or creating of any kind? What is your favorite trick?