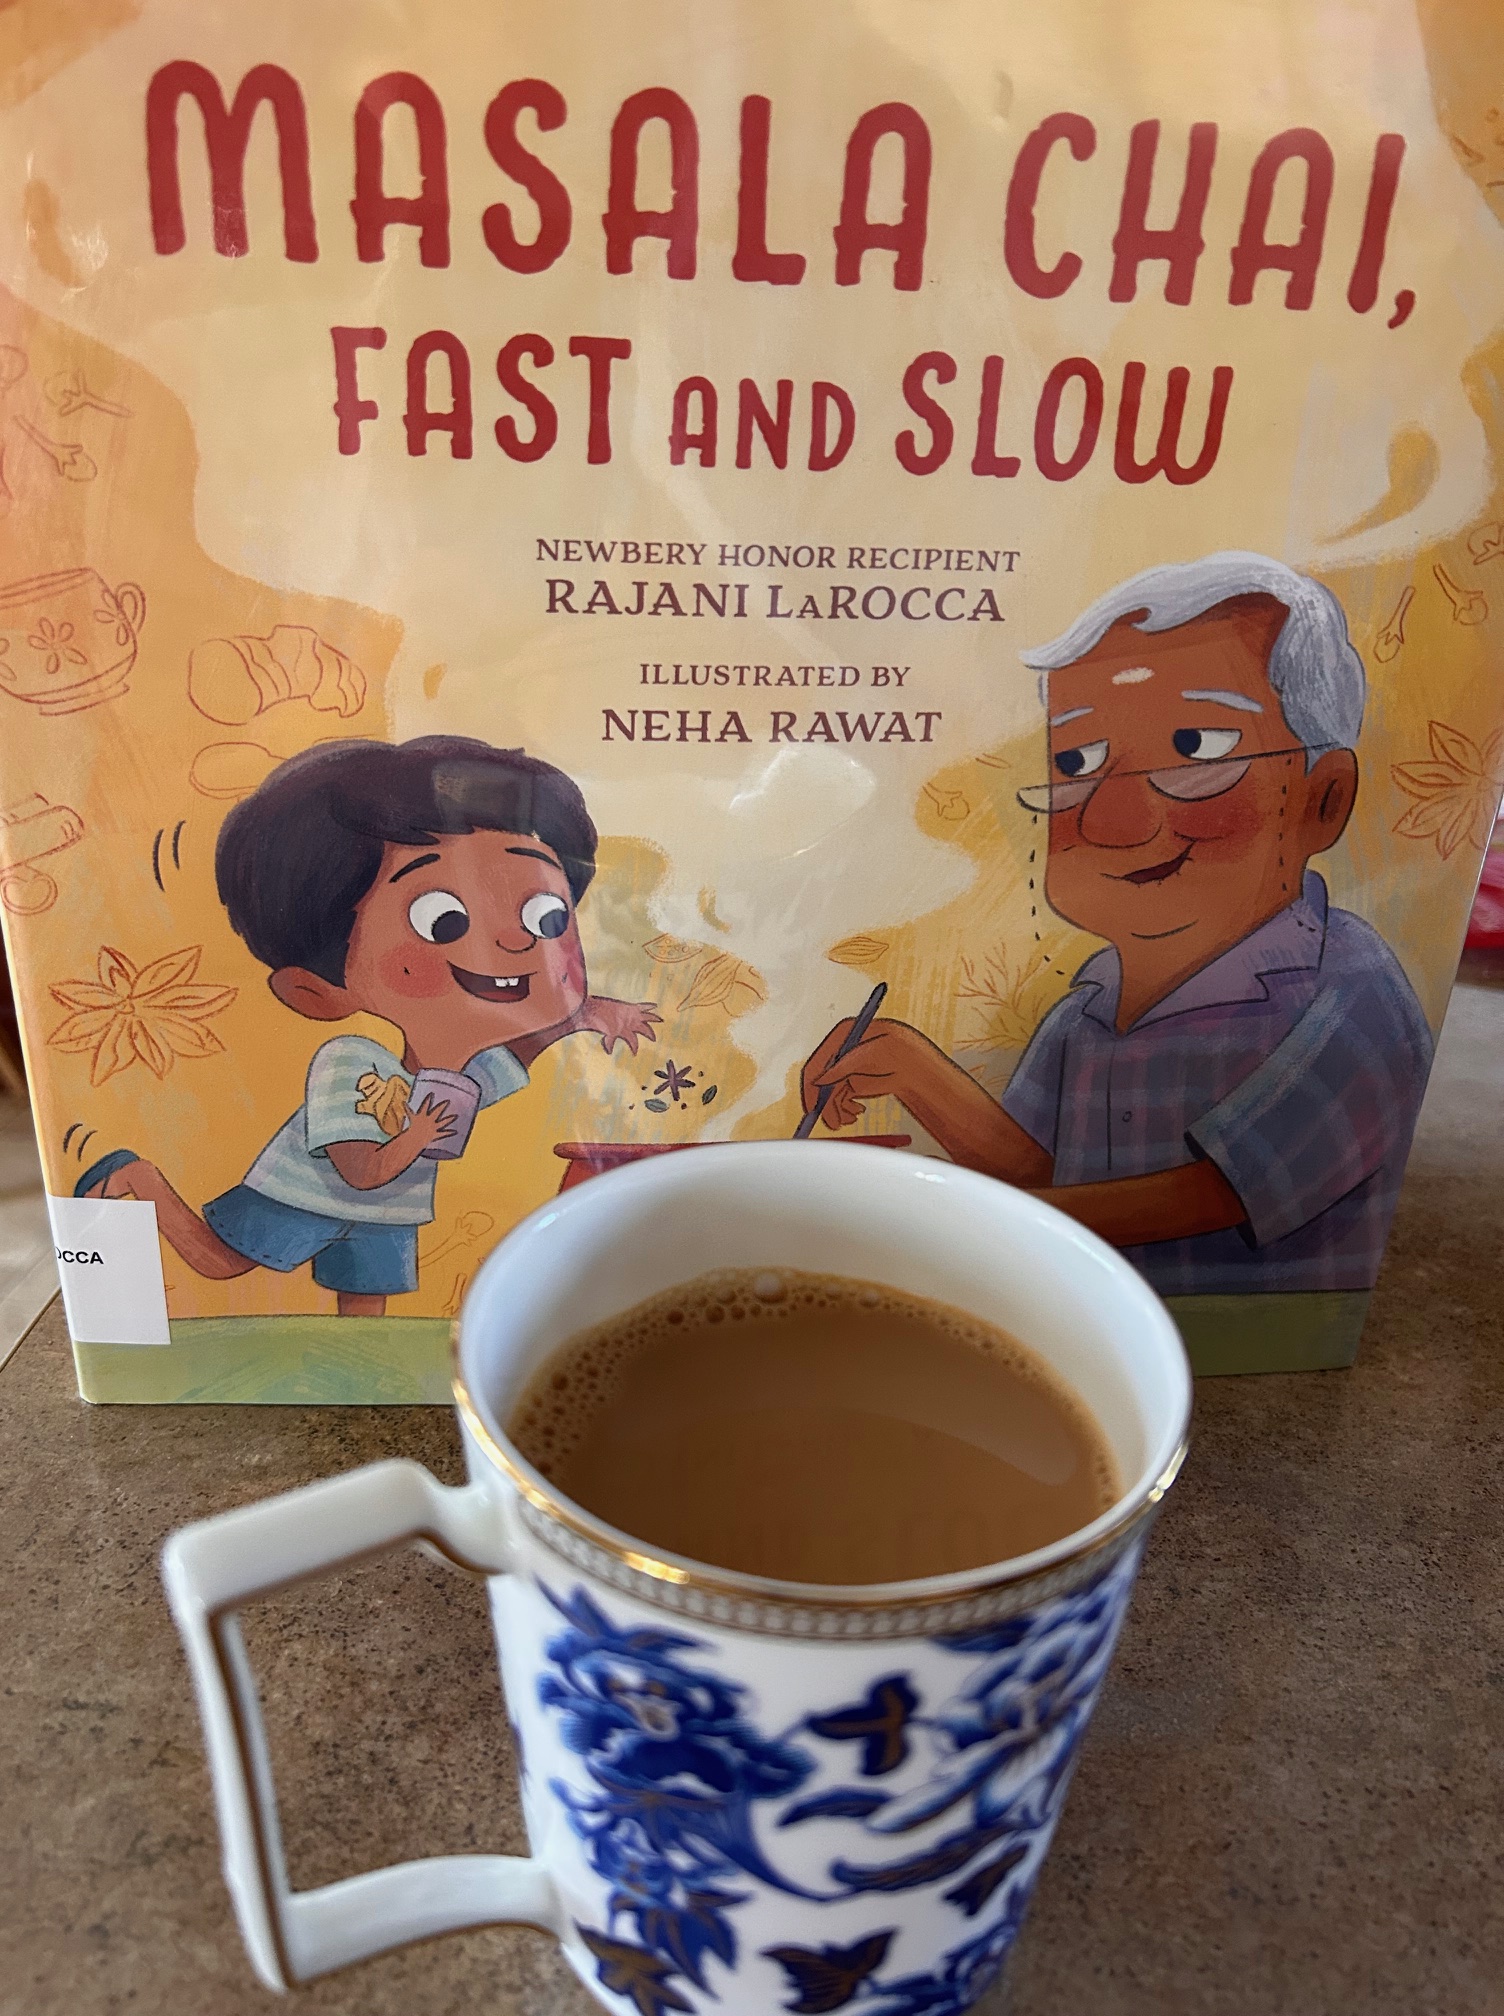
I’m a tea lover, and I’ve enjoyed my fair share of chai tea. But once I read this picture book, I knew I had to follow the recipe for myself and make homemade chai.
Masala Chai, Fast and Slow
Written by Rajani LaRocca
Illustrated by Neha Rawat
Candlewick Press, 2023
I may have mentioned once or twice that I really enjoy reading picture books about food. Being able to learn about traditions and families and such deliciousness is a treat for my heart. Masala Chai, Fast and Slow plus deep sips from a pretty teacup. Ahhh.
I watched a webinar where Rajani was sharing about her picture book and masala chai. Thanks, 12×12! After I requested my library purchase a copy, I was the first one to check it out (I love that). I kept it out for the maximum of time. Later, I checked it out again. But this time (also nearing the maximum time=number of renewals I can do) I made sure to collect all the ingredients to steep my own masala chai.
The recipe makes quite a bit of chai, so I needed to make it on a weekend when I could share. Which is the point of masala chai. Sharing and connecting with family and friends.
I gathered the ingredients suggested by Rajani in the back matter recipe (I love it when recipes are included in a picture book, and back matter is the bomb): milk, black tea bags, cinnamon sticks, black peppercorns, cardamom pods, whole cloves, fresh ginger, and sugar (or honey).
I decided to actually follow the recipe the first time around. Shocker, I know, since I usually wing it when trying new recipes. The resulting chai tea was delicious! Warm, spicy, fragrant. Ahhh. This recipe is a keeper. Good thing too, because I have a big bag of whole cardamom pods.
Masala Chai, Fast and Slow is delighfully tasty. I can’t wait to brew another batch.
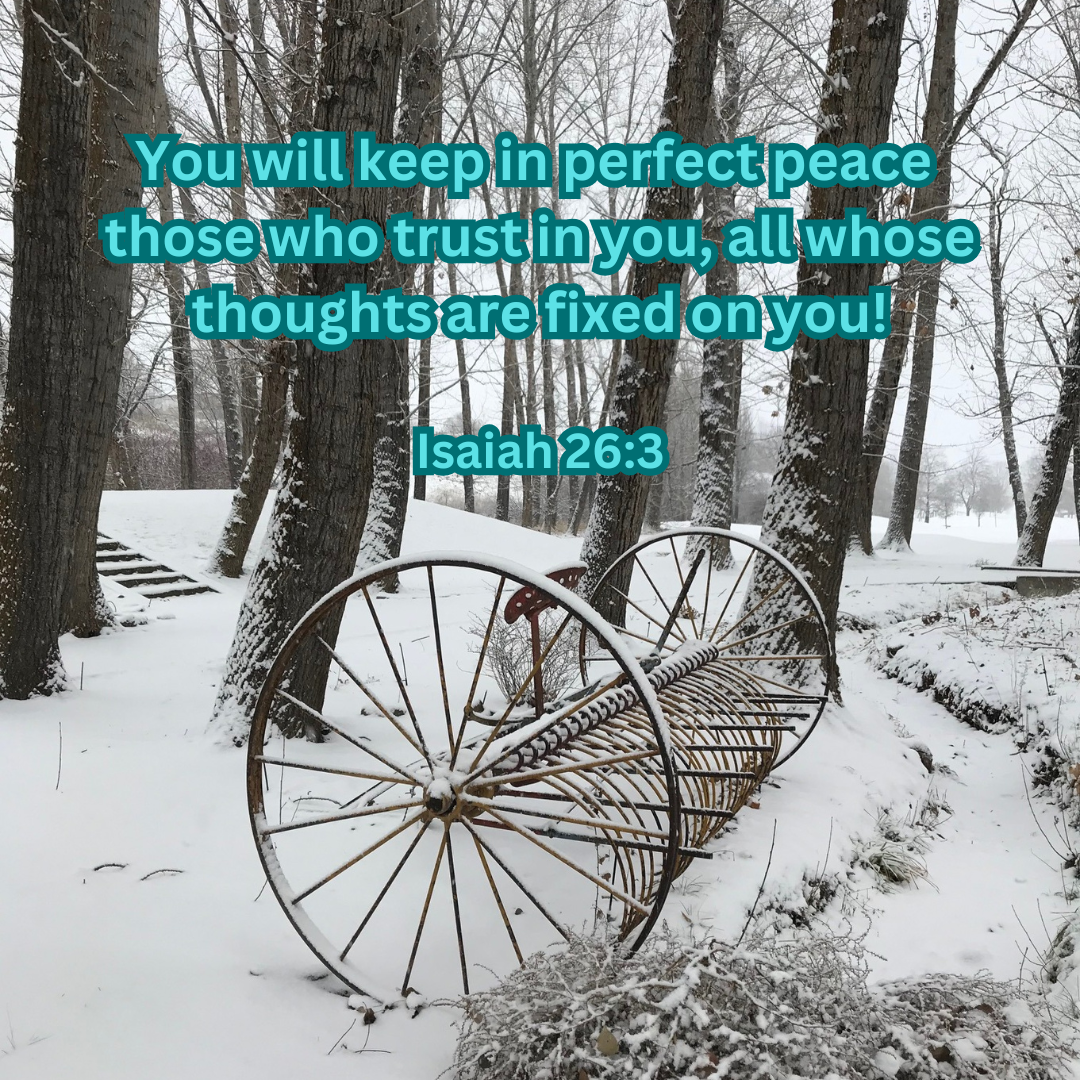
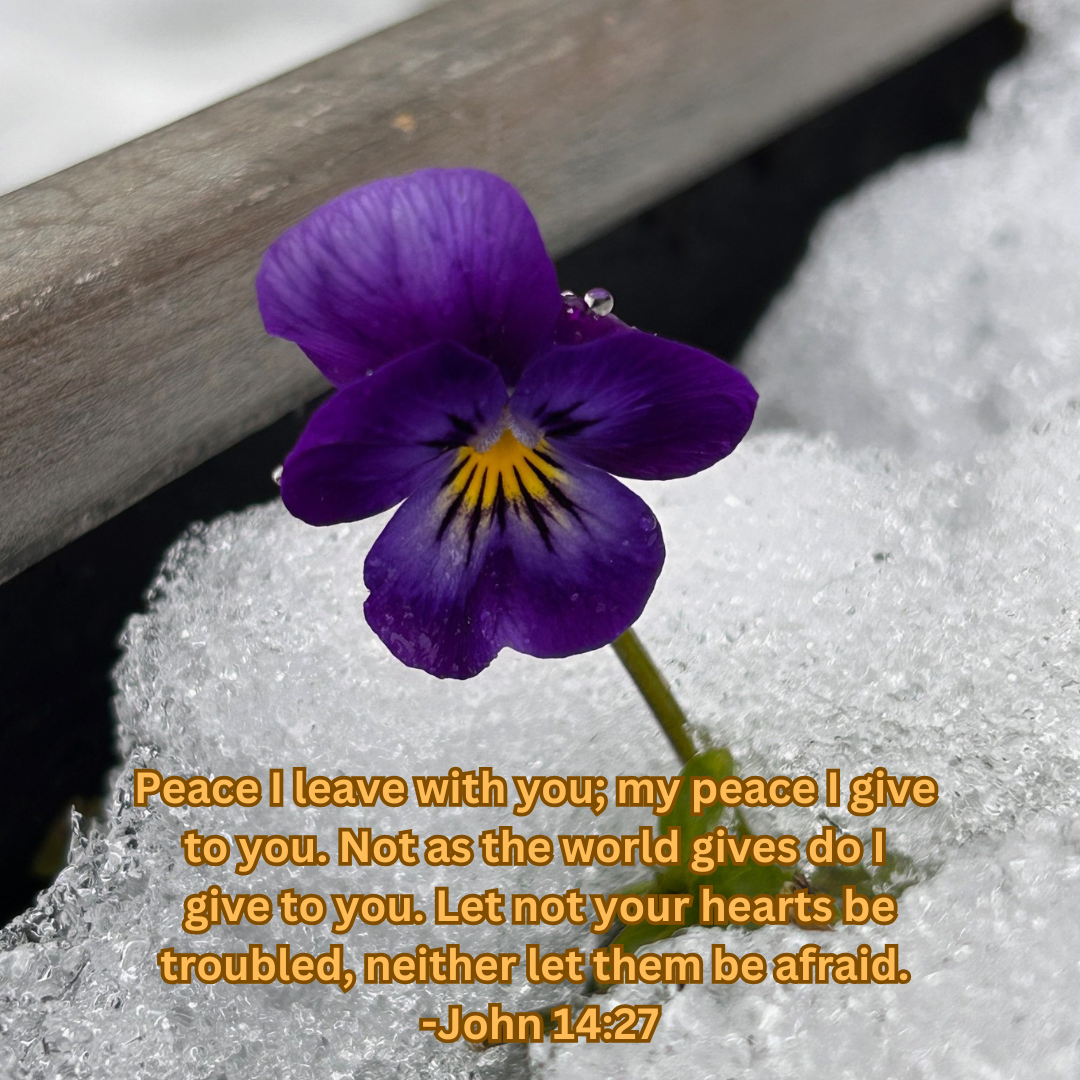
Welcome to 2025! Over the years, I’ve changed the name of this type of post. Sunday Moments and Sunday Joy are just a few of the titles I’ve used. This feels like a good year to focus on Sunday Peace.
Whether rain, snow, ice, or sun, be brave and stand strong like this little pansy in one of my uncovered plant pots. Peace to you.
I love that so many people were interested in my pumpkin pucks and the resulting pumpkin scones. I’ve had questions about both, so here are my directions to preserve your own pumpkin pucks and bake up these dreamy pumpkin scones.
PUMPKIN PUCKS
Heat oven to 350 degrees.
Ingredients: sugar pie pumpkin, olive oil
Wash your pumpkin. Cut it in half, scoop out the seeds and stringy bits, and cover both inside and outside with olive oil. Place the halves face down on a parchment paper covered cookie sheet. Use a fork to poke holes all over the two halves. Bake until all areas are tender. My first batch I didn’t quite cook the pumpkin long enough, and some areas were a little hard. This will usually take at least an hour, depending on the size of your pumpkin. Check after an hour and keep going until a fork easily pierces all areas.
Cool. Scoop the pumpkin flesh out and a fill 1/2 cup plastic measuring cup with pumpkin. Slam (to release the pumpkin) the pumpkin on a parchment paper covered cookie sheet. This will form the “puck” shape. Continue with all the cooked pumpkin. If there is any remaining, divide the rest between all the pucks. Freeze until solid. Place the pucks in freezer bags. Store in the freezer until needed. They unthaw pretty quickly, but if you want to use 1/2 cup of pumpkin, pull it out the day before and let it thaw in the fridge. Ta-dah!
PUMPKIN SCONES
Preheat oven to 375 degrees.
Ingredients:
2 cups flour (we love whole wheat)
1/2 cup brown sugar
1/2 tsp. ground ginger
1 tsp. nutmeg
1/2 tsp. allspice
1 heaping tsp. cinnamon
1 tsp. pumpkin spice
1 tsp. baking powder
1/4 tsp. baking soda
1/4 tsp. salt
1/2 cup cold butter
1/3 cup buttermilk (I never have this on hand, so I add about 1 T. vinegar to the milk and let it curdle)
1/2 cup pumpkin (1 PUMPKIN PUCK, thawed)
1 tsp. vanilla
Mix together flour, sugar, spices, baking powder, baking soda, and salt in a large bowl. Use a pastry knife to cut the butter in until it is well crumbled.
In a separate bowl, whisk together the pumpkin, milk, and vanilla. Add to the dry mixture. Mix just until the dough comes together.
Lightly flour a surface and put the dough on it. Gently knead the dough a few times and pat it into a circle about 1 1/2 inches thick. Use a knife to cut the dough in half, then in quarters, and then in eighths (final scone count is 8). Place untouching on a parchment paper covered cookie sheet.
Bake about 20 minutes, until a toothpick comes out clean. Remove to a cooling rack to cool.
PUMPKIN SPICE GLAZE
Ingredients: powdered sugar, pumpkin spice, water
(I apologize in advance. I do not measure this, but rather go by “it’s done when it will pour over my scones.”)
Place about 1 1/2 cup powdered sugar in a bowl. Add about 1 tsp. pumpkin spice. Add water by 1 tsp. at a time, using a whisk to mix the glaze. Stop adding water when the glaze stirs easily but is not runny. (I know!! I did apologize in advance!) If you get too much water, add small amounts of powdered sugar to get the consistency you want.
Drizzle the glaze over the scones while they are still on the cooling rack. This is messy since the glaze drips off the bottom, but you can place the cooling rack back on the cookie sheet so it drips onto the cookie sheet instead of your surface.