Love, Laughter, and Life

Adventures With a Book Lover


7 Comments

2025 Pumpkin Report

Pumpkin Displa

Like last year, the “new seeds” portion of the pumpkin crop was off to a slow start. I repeatedly replanted several sections of the various garden areas I have. Not to great results.

Monet and pumpkins

BUT the “toss out some old pumpkins and let them rot and self-seed” portion of the crop performed with glee! Pumpkin glee!

pumpkin patch after first frost, before harvest

Keep reading to find how many pumpkins were harvested in 2025!

during the pumpkin harvest

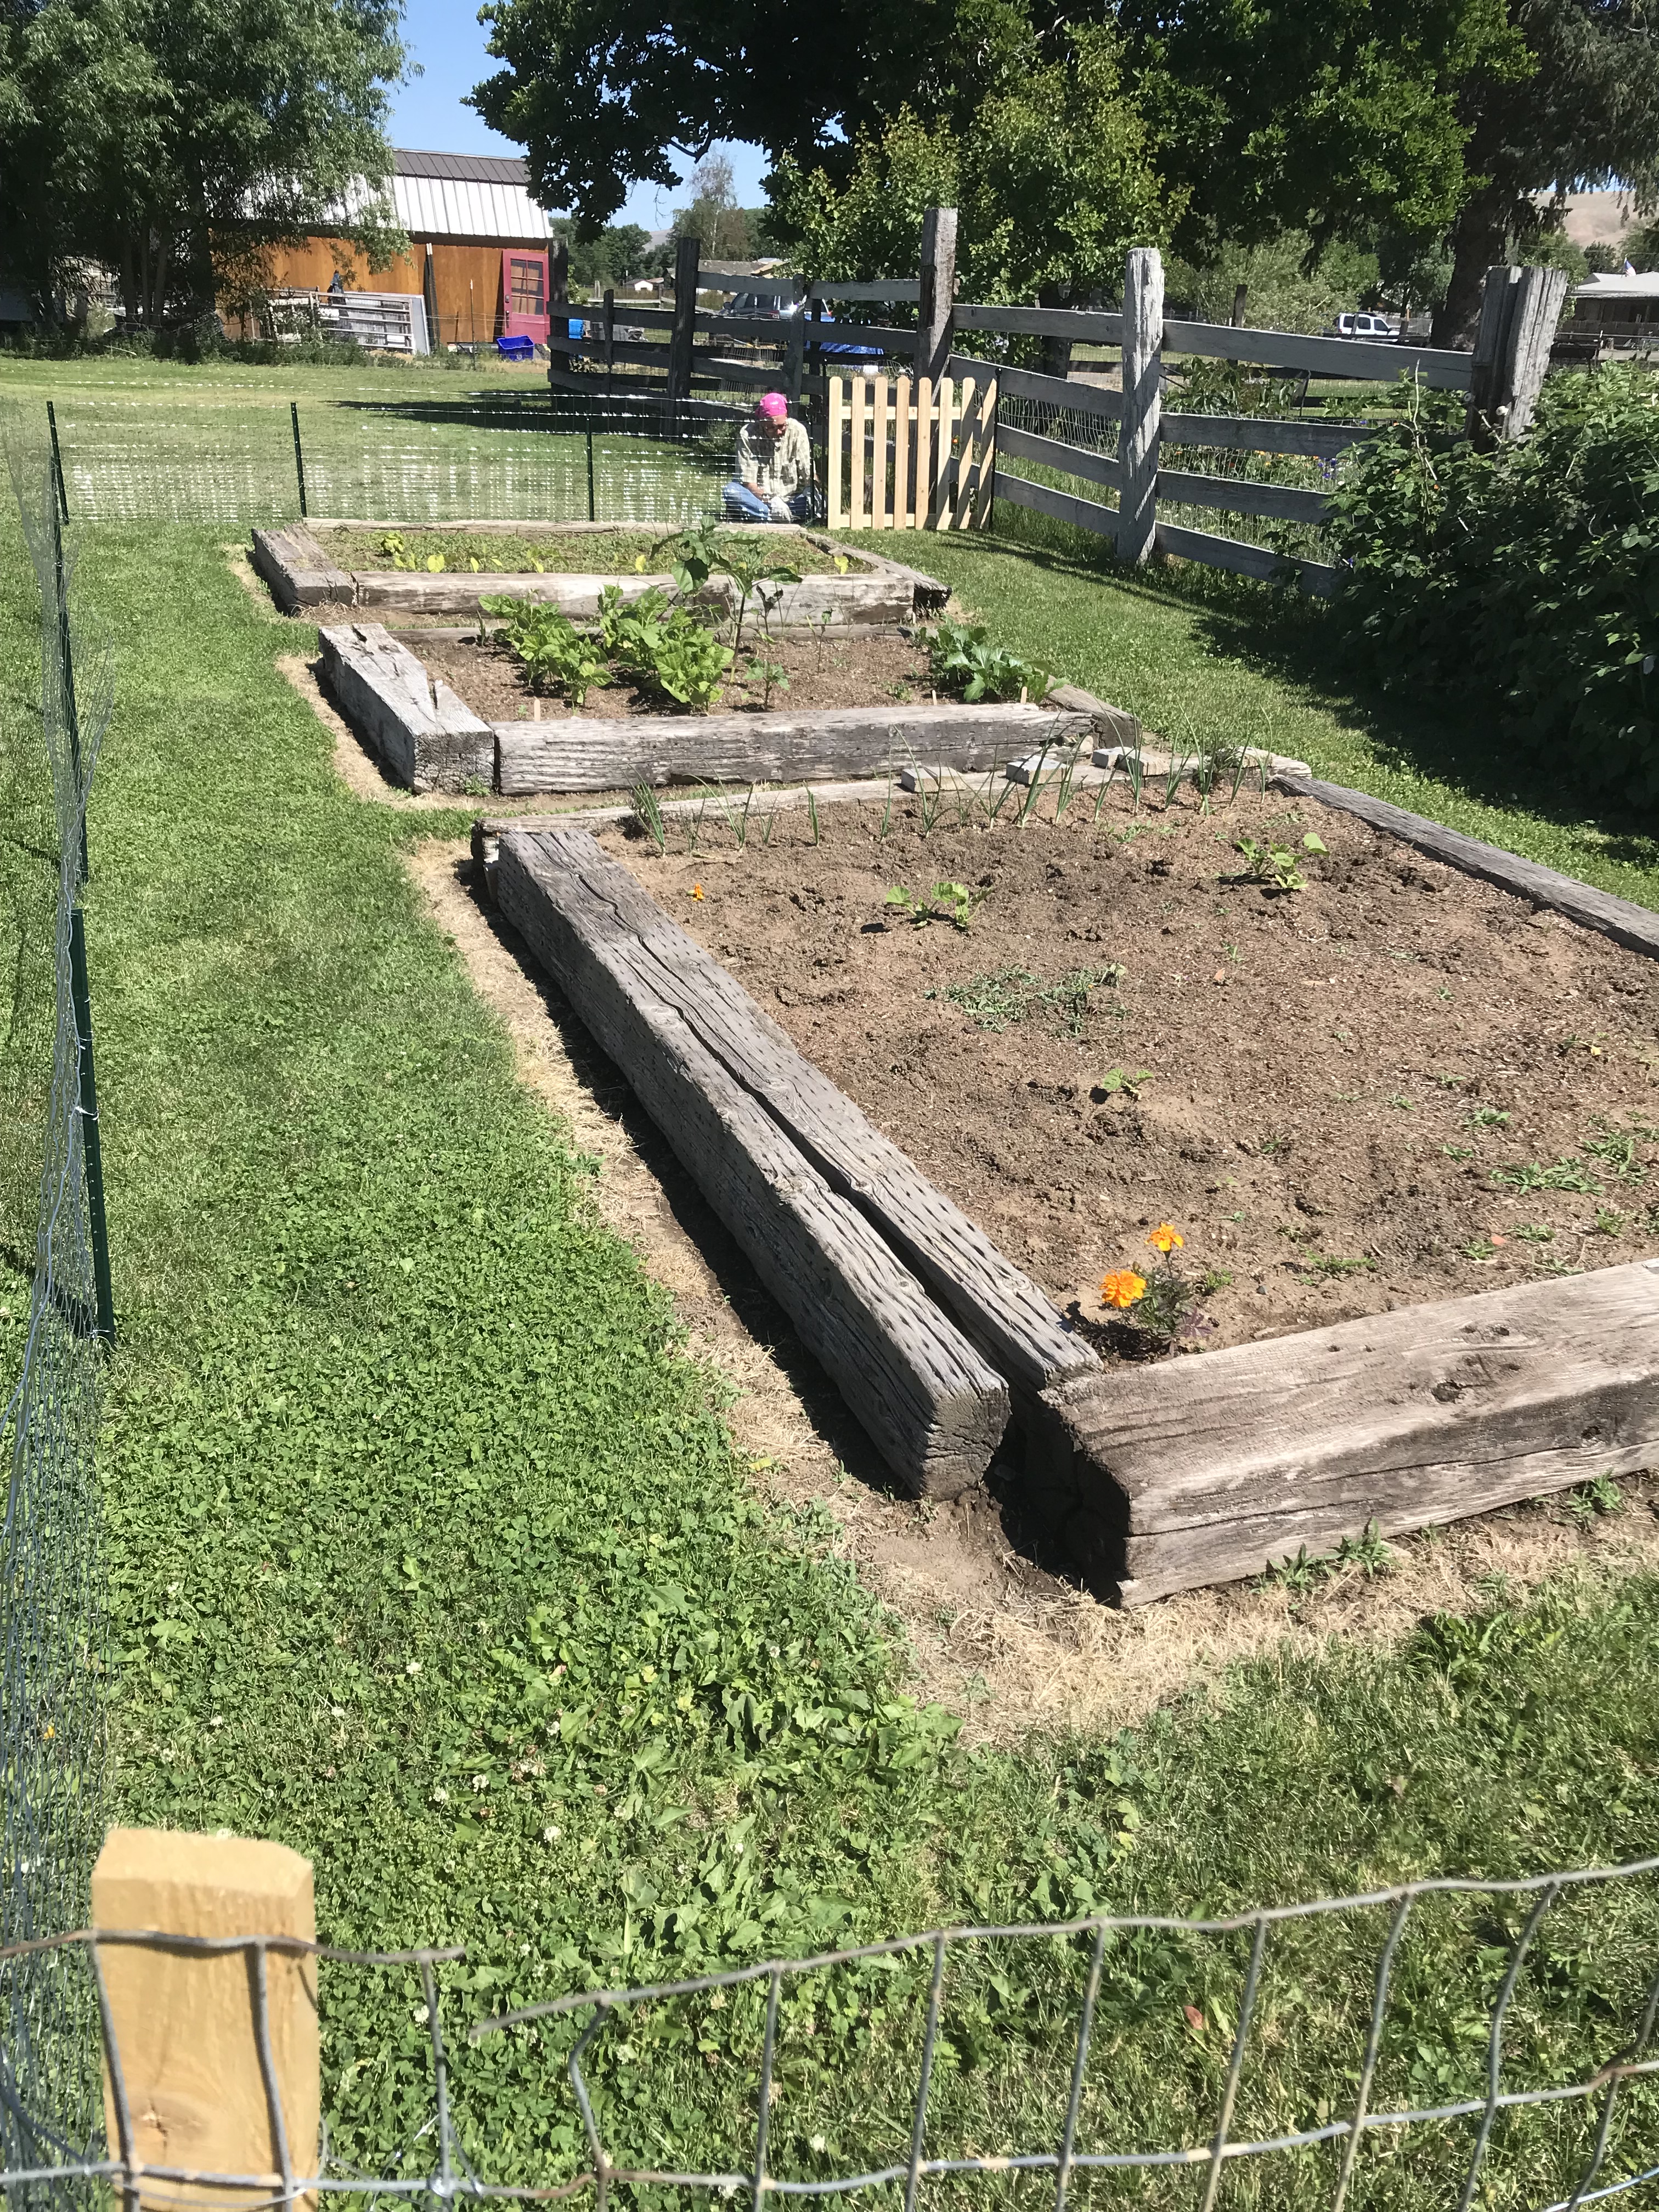
Especially productive was the raised bed we have way out in the pasture. That’s where I left several pumpkins from 2024: a white one my son surprised me with after a trip to a pumpkin farm stand, a smaller orange one, and one of those tiny pumpkins. They rested in the bed over winter and sprouted early. Hundreds of sprouts. I had to rip out handfuls to give room to the rest. By pumpkin harvest day, the spread was huge! We actually had to curb the growth as it headed over to the horse pasture (not ours) next door. It took many hours to harvest them. And then more moving them, ripping out the vines, stepping gently to find any lost ones.

I love my pumpkins!

Also productive were the tiny pumpkins planted (but also I left some from 2024, so it’s a toss-up which ones actually sprouted) in the sunflower forest bed. I love these, because they vine and grow up. We had them climbing pumpkins, shrubbery, and some of the pine tree (which began as a twig with roots from the Arbor Day Foundation, and is slowly taking over said sunflower forest and patio). I love discovering where these cuties show up.

I had a little help

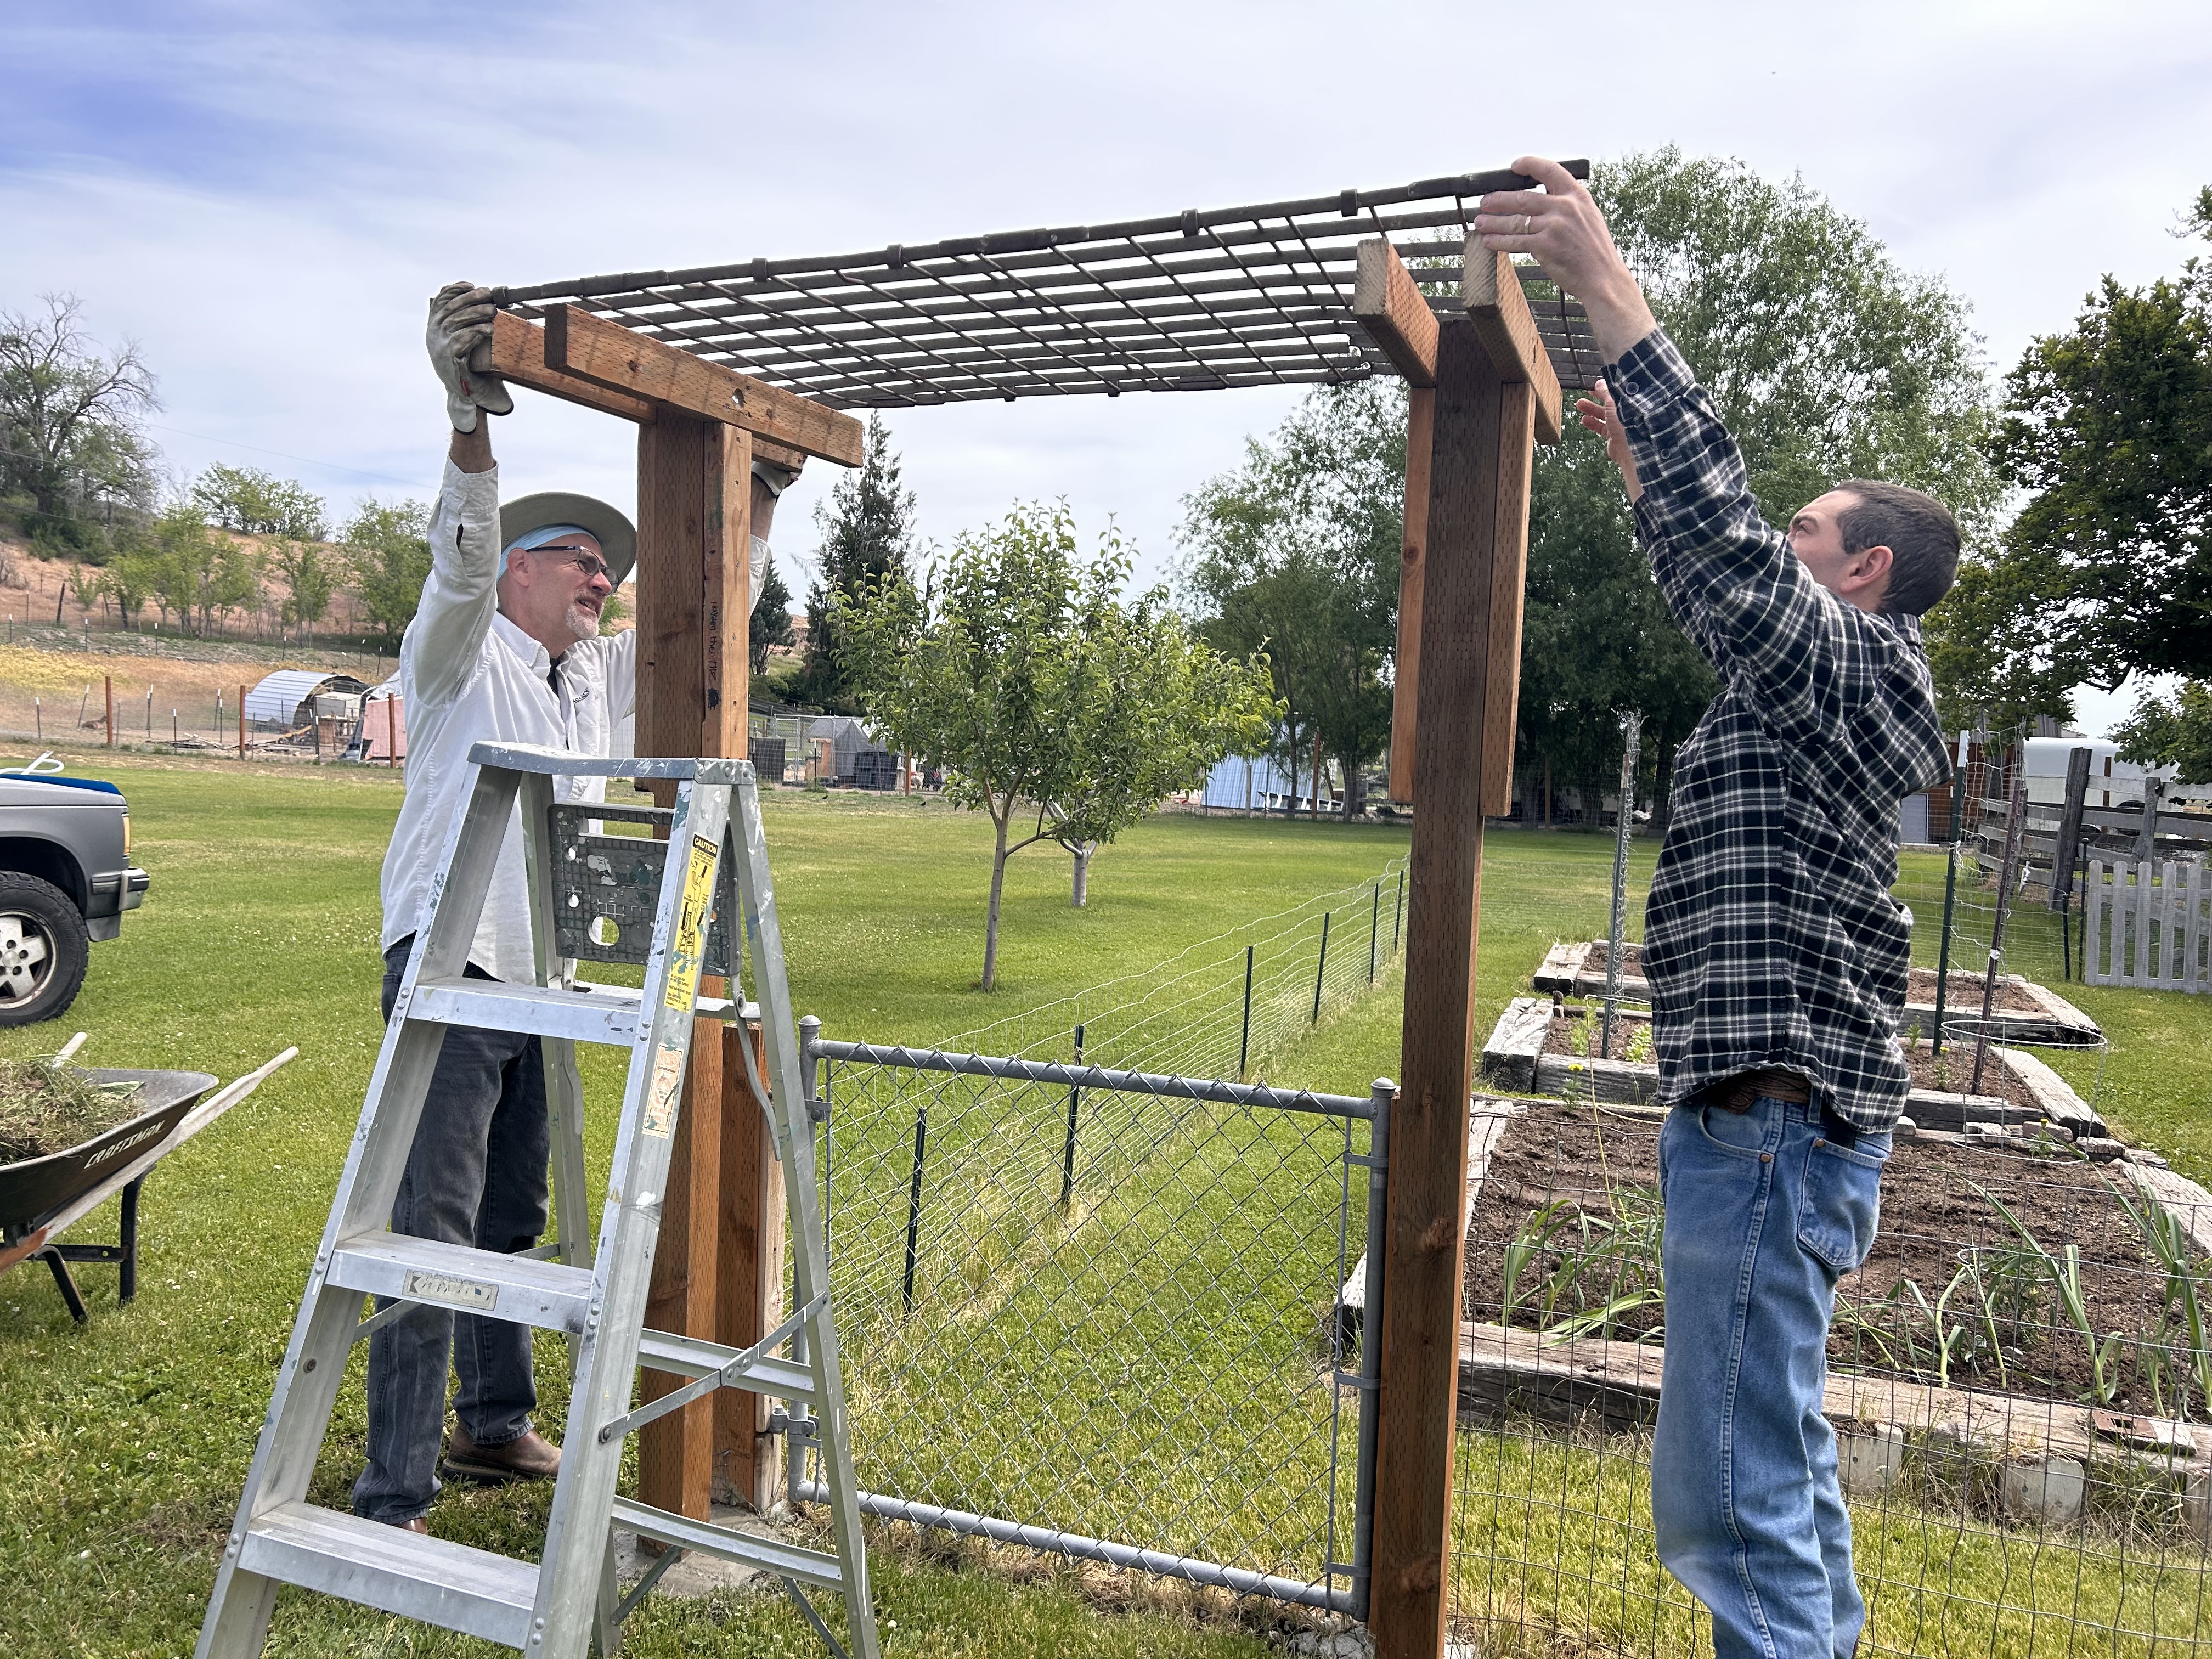
I had some muscle to help haul in the heavy wheelbarrows!

wagon for the animal farm next door

We even ended up with a wagon of rejects (partially eaten) for the animal farm on the other side of the pasture.

40 for church potluck

Plus 40 in the trunk to go to church for a potluck!

Finally, here are the 2025 pumpkin harvest totals! Drum roll please . . .

2025 Pumpkins on Display

White pumpkins: 17

Tiny pumpkins: 67

Orange pumpkins: 158

For an amazing grand total of 242 PUMPKINS!

So thankful for a wonderful harvest! Can’t wait until next year!

Just for fun, check out totals from last year here.


4 Comments

come fall

come fall, my breath eases

garden chores relax

cozy becomes theme of the day

sweaters resurface from storage

colors vibrate with final goodbyes

crisp air invigorates

dew dampens pant hems and ankles

caws and honks sing seasonal music

rustles dance through dried sunflowers

zinnias fade and go to seed

pumpkins dangle from spent vines

birds fatten, cats fluff, people bundle

tea and scarves and throws

beckon me to breathe,

embrace

all that is autumn

come fall by Angie Quantrell


6 Comments

From Houses to Cards

After my stamping buddy sent me her leftover kraft paper houses, I was inspired to dig out the stamping supplies and see what happened. Another friend from my teaching days had recently given me a stack of decorative papers. The ingredients from two friends plus my own collection combined to make the perfect recipe for these fun cards!

It is always a boost to start a new card project with ideas or the beginnings of the project. The houses and patterned paper were just right to kick off this crafting session.

I used thick cardstock, patterned paper, washi tape, sticky mesh, colored pencils, rubber stamps, ink, and a little glitter glue. I love the collage of all the materials. The creativity comes from playing with different pieces, rearranging them to find what works. I’m happy with the results. Nine houses, nine new cards.

Thanks for the idea and supplies, friends!


6 Comments

Coffee with Friends (Stamped Cards)

One day last week I went back to work after a quick lunch and my computer had decided to do a long detailed update and I was locked out. Soooooo. What is a girl to do, standing there amongst all the rubber stamp supplies?

OH. She could most certainly dig out the most recent gifting of unused supplies (papers, stamps, extras) from a friend and see what card jumped out of the mix.

It was coffee. Coffee jumped out. This fun coffee cup rubber stamp set was just the thing. Add some fun papers, a bit of this and that, and 14 time for coffee with friends cards are now drying on my desk.

Not that they were all finished that first day. It took a few more chunks of time, but once the mess is out on the table and the idea has a plan, rubber stamped cards are just a few short work sessions away. I worked on them a little bit both days of the weekend, finally finishing them up in time to make dinner on Sunday.

How about you? What do you do when the computer locks you out or you have a few free hours? Any favorite hobbies? We could get coffee!


Leave a comment

Pumpkin Pucks and Pumpkin Scones

I love that so many people were interested in my pumpkin pucks and the resulting pumpkin scones. I’ve had questions about both, so here are my directions to preserve your own pumpkin pucks and bake up these dreamy pumpkin scones.

PUMPKIN PUCKS

Heat oven to 350 degrees.

Ingredients: sugar pie pumpkin, olive oil

Wash your pumpkin. Cut it in half, scoop out the seeds and stringy bits, and cover both inside and outside with olive oil. Place the halves face down on a parchment paper covered cookie sheet. Use a fork to poke holes all over the two halves. Bake until all areas are tender. My first batch I didn’t quite cook the pumpkin long enough, and some areas were a little hard. This will usually take at least an hour, depending on the size of your pumpkin. Check after an hour and keep going until a fork easily pierces all areas.

Cool. Scoop the pumpkin flesh out and a fill 1/2 cup plastic measuring cup with pumpkin. Slam (to release the pumpkin) the pumpkin on a parchment paper covered cookie sheet. This will form the “puck” shape. Continue with all the cooked pumpkin. If there is any remaining, divide the rest between all the pucks. Freeze until solid. Place the pucks in freezer bags. Store in the freezer until needed. They unthaw pretty quickly, but if you want to use 1/2 cup of pumpkin, pull it out the day before and let it thaw in the fridge. Ta-dah!

PUMPKIN SCONES

Preheat oven to 375 degrees.

Ingredients:

2 cups flour (we love whole wheat)

1/2 cup brown sugar

1/2 tsp. ground ginger

1 tsp. nutmeg

1/2 tsp. allspice

1 heaping tsp. cinnamon

1 tsp. pumpkin spice

1 tsp. baking powder

1/4 tsp. baking soda

1/4 tsp. salt

1/2 cup cold butter

1/3 cup buttermilk (I never have this on hand, so I add about 1 T. vinegar to the milk and let it curdle)

1/2 cup pumpkin (1 PUMPKIN PUCK, thawed)

1 tsp. vanilla

Mix together flour, sugar, spices, baking powder, baking soda, and salt in a large bowl. Use a pastry knife to cut the butter in until it is well crumbled.

In a separate bowl, whisk together the pumpkin, milk, and vanilla. Add to the dry mixture. Mix just until the dough comes together.

Lightly flour a surface and put the dough on it. Gently knead the dough a few times and pat it into a circle about 1 1/2 inches thick. Use a knife to cut the dough in half, then in quarters, and then in eighths (final scone count is 8). Place untouching on a parchment paper covered cookie sheet.

Bake about 20 minutes, until a toothpick comes out clean. Remove to a cooling rack to cool.

PUMPKIN SPICE GLAZE

Ingredients: powdered sugar, pumpkin spice, water

(I apologize in advance. I do not measure this, but rather go by “it’s done when it will pour over my scones.”)

Place about 1 1/2 cup powdered sugar in a bowl. Add about 1 tsp. pumpkin spice. Add water by 1 tsp. at a time, using a whisk to mix the glaze. Stop adding water when the glaze stirs easily but is not runny. (I know!! I did apologize in advance!) If you get too much water, add small amounts of powdered sugar to get the consistency you want.

Drizzle the glaze over the scones while they are still on the cooling rack. This is messy since the glaze drips off the bottom, but you can place the cooling rack back on the cookie sheet so it drips onto the cookie sheet instead of your surface.

Enjoy!

Hooray for homegrown sugar pie pumpkins!


13 Comments

From Pumpkin to Puck to Treat

Our garden produced a bumper crop of pumpkins this year. Maybe because I replanted them over and over due to the mysterious disappearances of seeds, sprouts, and evidence of any plant life! You can read our final pumpkin counts here.

Decorating around the RV, Huckleberry Hutch, and sending home numerous glorious orbs with the grands and their parents helped disperse the wealth. But also, I baked two. Only two so far, as there are three more that remain unfrozen I can bake.

Just in case you are wondering, once the outside pumpkins freeze, I do not cook them. But after the season, we give our outdoor fall decor to the turkeys, chickens, geese, and goats who live next door. They LOVE harvest as much as we do.

From the baked pumpkin, I made 1/2 cup pucks. That’s what I’m calling them. Pumpkin pucks. Most recipes seem to call for 1/2 cup pumpkin. So there you have it. The pucks remain nicely frozen in the freezer, and I pull one out whenever I want to use one. They don’t even take that long to unthaw.

Et voila, pumpkin scones! We love these spicy treats. Any pumpkin scone recipe will work. Just double the spices. I’m serious. We love that burst of flavor. I double all the spices. We use whole wheat flour and my husband prefers his without the pumpkin spice glaze.

From pumpkin, to puck, to treat. Delish!

What is your favorite pumpkin treat? I have plenty of 1/2 cup pucks to try it!

Sunday Thoughts

Leave a comment


6 Comments

2024 Pumpkin Report

Despite the disappointing beginning of repeated plantings, low number of sprouting seeds, and nibbling of sprouts by bird and pest alike, we had quite a successful pumpkin harvest. And I say bring on fall! I love pumpkins and I love autumn! Decorating with homegrown pumpkins is so rewarding.

Read to the bottom for the final count. The photo above shows the “big” pumpkins from the garden. In the carving world, they really are medium sized to small, but in my garden, they are the big ones. Also notice the random yellow squash. I harvested 2. I replanted zucchini and yellow squash multiple times. The end results were zucchini: 0. Yellow squash: 2.

The table above was one of our distribution points. Pumpkins available for adoption were placed on the lovely garden table made earlier this year by my honey.

Above is yet another adoption table, covered with the big pumpkins. This table was also made by my honey, but a few years back, so it has lovely weathered wood.

Above is the first harvest of the minis. So cute and adorable, and perfect for every nook and cranny. I will definitely plant these again. They are so much fun, and pretty aggressive climbers. We watched them creep up sunflowers, pine trees, and any other item taller than themselves. Note, this is another table made by the honey. This one is fresh and needs weathering.

The hand belongs to my grand, Donavyn. He is the one who arranged the minis by color. I loved that! Donavyn and Autumn were thrilled to help with the pumpkin hunt and retrieval.

This is the final harvest from the new planting box out in the pasture. Whoa! A surprising number of big and small pumpkins. Plus, I had tossed in sprouting potatoes and other compost at the “fill the box with stuff and dirt stage,” not thinking what might happen. Potatoes happened! I pulled out the “weeds,” and potatoes were attached to the bottom! How fun is that! That’s why I like experimenting in the garden.

Drum roll please. The final totals for pumpkins harvested this year are:

Big pumpkins: 42

Mini pumpkins: 87

Thankful for a great harvest! Bring on fall.


6 Comments

History of the Garden Arbor

It’s fun to go back and look at pictures to see how things have changed over time. Our garden area is constantly changing.

The garden started with three simple garden beds placed in the pasture, which used to be mostly dirt and weeds. As you can see, it was already looking good with “greens” growing.

Frequent feathered guests foraged in the pasture and wide-open garden beds. Which transitioned into even more visitors, of the furry and voracious garden eating variety. The chickens were fine with me, but when bunnies ate down all of my plants, something had to be done.

My honey put a low fence around the whole lot. The main purpose was to keep the bunnies out. It worked great! Actually, the fence is so short, most of us can easily step over it. But the bunnies were befuddled and my plants could grow free.

And then. I found one of those old metal chain-link fence gates while visiting my buddy in Seattle. One of those “free yard sale” treasures! Guaranteed to make my honey whisk his eyebrows up when I drove into the yard with my little Mazda packed to the gills. Gate included. So, we added an easy access gate. By we, I mean him. 😉

And then. I really wanted an arbor. Over that awesome gate. We had this other piece of metal junk hanging in our shaded car park area. Just an old rusted metal grate of some sort. I think it was left on the property from the previous owner. And ta-dah! Instant unique arbor! Instant for me. A bit of hard work for my honey and Taylor.

I might add how HEAVY that thing is! And I am blessed to have 2 strong guys to let me come up these wild ideas and they make it happen. Oh, and it’s rusty. One of my favorite garden colors and textures.

My honey bought me a honeysuckle plant for Mother’s Day. You can see it above just starting out. Below, you can see I’ve been working on training it up. It’s nearly reached the top!

And here we are today. I just took this picture. It smells so good! Last week I stood and watched a hummingbird feast on the fragrant blooms, for so long that I wandered off before it did. That is my kind of garden.

Ahhhh. The garden continues to grow and change.

What about you? Any big changes in your garden or yard over the years? Any cool rusty items??


8 Comments

79 Cards!

79 cards, friends. 79. Not my best total after a weekend of stamping, but nothing to sneeze at either. 😉

I took up residence with my stamping buddy and her kitties over the summer and we got it done! Between the kitty help (all 3 of them), the walks, the meals, the outings, the visits, the Olympics, the rain (yes, glorious rain), I still managed to create 79 cards. My card stash (housed in those cute picture storage boxes) was getting low. Whew.

Here are the styles I worked on. Many of them are different from the top card, but have the same theme. We love to use up our “crafting stuff,” and no scrap is too small, no tidbit too uninspiring to be included for consideration.

I LOVE creating French-themed cards. One of my goals was to use up some of my French decorative paper. Check. [Hint: Even in rubber stamping, setting goals is a good thing to do!]

Another goal was to use up some tropical decorative paper. Plus, such cute pineapples!

A surprise entry to the card collection took place when Alyson started using this interesting, location-specific stamp. Old thesaurus, patterned paper, solid cardstock. This stamp represents Santuario de Chimayo in New Mexico! I’ve never been there, but it looks like I should put that on the list.

This was a cute card to put together. Layers are how it works best, and you’ll notice that old thesaurus pages are one of my favorites to include. Actually, any aged pages from old books work. Though one must be careful to notice which words show up on the card.

I love these stamps! The background paper worked very well. Alas, this card was a lesson in which ink pad NOT to use! The ink never dried, so I had to carefully place scraps of paper between each card to bring them home. And then it still wouldn’t dry! I finally had to peel off the fronts, remove the backings, and re-ink the edges. Sigh. I just need to toss that ink pad. Black ink. Everywhere.

After the gloom and doom of black smeary ink, this summer card was quick, easy, and light!

A little music is good for the soul. It took a bit of time to cut out the guitars to pop on top, but the card was worth it!

Fun stamp, fun text, fun colors! We all need something to celebrate, and this card works for so many special occasions.

I LOVE stamping! It works much better with a buddy (or two or three) so you can share supplies, ideas, thoughts, and suggestions. Of course, the mess multiplies by number of creators. LOL

Can we count the kitties? Yes. I’ll leave you with one of our co-creators. This one loved the trash bag.