Love, Laughter, and Life

Adventures With a Book Lover


3 Comments

Congratulations, Winners!

image

Three sets of 5 cards each, ready to be mailed to the winners! Congratulations!

Last week, I posted a slide show of some of my rubber stamped card creations. In order to have some fun and share my cards, I offered a set of 5 handmade cards to 3 guests who followed this blog and commented about their hobbies.

And the winners are:

Judith the Reader

Alyson

Marilyn


Thanks, friends! I will be contacting you soon to get your mailing address. I hope you enjoy sending the cards as much as I had fun making them.

A bientot!


6 Comments

What’s Your Hobby?


This slideshow requires JavaScript.

Do you have a favorite hobby?

I do. Rubber stamping! I love to hang out with my girl friends and use rubber stamps, tools, supplies, and miscellaneous papers and trinkets to create greeting cards. Rubber stamping!

I don’t feel guilty for pursuing this crafty hobby. One reason is that I don’t spend tons of money on supplies. In rubber stamping, a little goes a long way. One of my stamping buddies and I just recently finished up a roll of foam tape (3-D effect) that we had been collectively using for at least 10 years.

Another reason I allow myself to indulge? The cards. I distribute my handcrafted cards through many venues – a set becomes a gift for my sister, a dozen goes into an auction basket, birthdays are celebrated, thanks are sent, holidays are enjoyed, and encouragement is mailed. I even create cards for my husband to use at work. I am – gasp – a supplier. In a good way.

As I work on updating my blog and web site, I thought it would be fun to have a giveaway and celebrate hobbies.

Here’s what you need to do:

1. Sign up to follow this blog. You knew there was a catch, right?

2. Comment above. Tell me that you’ve followed. View the slideshow of cards and let me know which card you like best and why. I’d love to hear about your favorite hobby!

That’s it.

On Friday, October 21, I will randomly choose 3 followers* to receive a packet of 5 handcrafted cards, mailed to your home. How fun is that?

*Sorry, only U.S. addresses for the free cards. But anyone around the world is welcome to follow this blog!


Thank you for visiting. Have a great day!


Leave a comment

4th of July Craft Project

Khloe with her Fourth of July flag ~ it was kind of heavy!

By Angie Quantrell @AngieQuantrell

Pinterest wins! This Fourth of July craft project turned out adorable.

The grands loved it as well, though they really wanted to just paint all over the old barn wood plaque. That would be a project for a different time. This time, Nana wanted some resemblance to a flag. It was on OLD barn wood after all, and that stuff is hard to come by.

That being said, use any wood you like. Or cardboard or a piece of canvas. With just a little help, you will be ready to celebrate the birth of our nation in style!

Audrey adding white stripes to her Fourth of July flag.

Fourth of July Flag Craft

Materials: wood, acrylic paints (red, white, blue), plastic containers to hold paint, paintbrushes, apron or old clothes, wire

Tools: saw, drill, wire cutter, broom

Donavyn is done with his flag and enjoying a freeze-pop on this nearly 100 degree day! UGH

1. Cut a rectangle from the wood. Drill two holes in the top for wire.

2. Use a broom to dust off the sawdust and dirt.

3. Squirt each color into a container.

4. Help do the handprint. I held each child’s hand and thickly painted it with blue paint. I also helped place the hand and held it down until I had rubbed it all over. Wash!

Hayden working on his white stripes.

5. We did red stripes first, making sure to leave big spaces for the white. For older kids they can pretty much be told where to start the stripe and they will be fine. My younger guys needed a little more assistance. Normally, I would just let them paint however they wanted, but these were on barn wood…

6. Add the white stripes between the red.

7. Dry. Loop wire through the holes and twist together to form a hanging loop.

Happy 4th of July, America!


Leave a comment

Stars ~ Picture Book & KID KANDY

Stars

By Angie Quantrell @AngieQuantrell

Stars

By Mary Lyn Ray

Illustrated by Marla Frazee

(Beach Lane Books, 2011)

I love shapes! Stars are one of the first shapes that children learn to identify. Stars and hearts.

This beautiful picture book is about stars.

Stars tells about stars – the shape, the stars in the sky, the stars in your hand, and the way stars can be used to have fun. A star can make you a sheriff, a princess, or a magical fairy with a wand.

But what about other stars? Flower stars that become favorite fruits, frozen stars that give us snow, and paper stars that mark special days are all different kinds of stars that mean something wonderful is going to happen!

Readers will love the creative imagination and ideas about stars they find in Stars.

KID KANDY:

Make Stars

Stars are sort of difficult to make, but once you learn how, they are fun and easy.

Materials: paper, scissors, markers, glitter glue, scrap paper, sticks, tape, ribbon

Here is how you draw a star.

How to draw a 5-pointed star

Or you can cut out 2 triangles, put one upside down on the other, and make a different star!

How to make a 6-pointed star with 2 triangles

Cut out and decorate your star. I always love to add glitter glue to make things sparkle and shine!

What can you do with a star?

– Tape your star to a stick for a wand or decoration.

– Display your star on the fridge.

– Give your star to a friend.

– Make a hat or crown with your star.

– Put your star on the calendar to mark a special day (your birthday?).

– Hang several stars on ribbon to make a wall decoration.

Have a starry day!


Leave a comment

Decorated Metal Tins ~ How to Use Those Empty Altoid and Ice Chip Tins

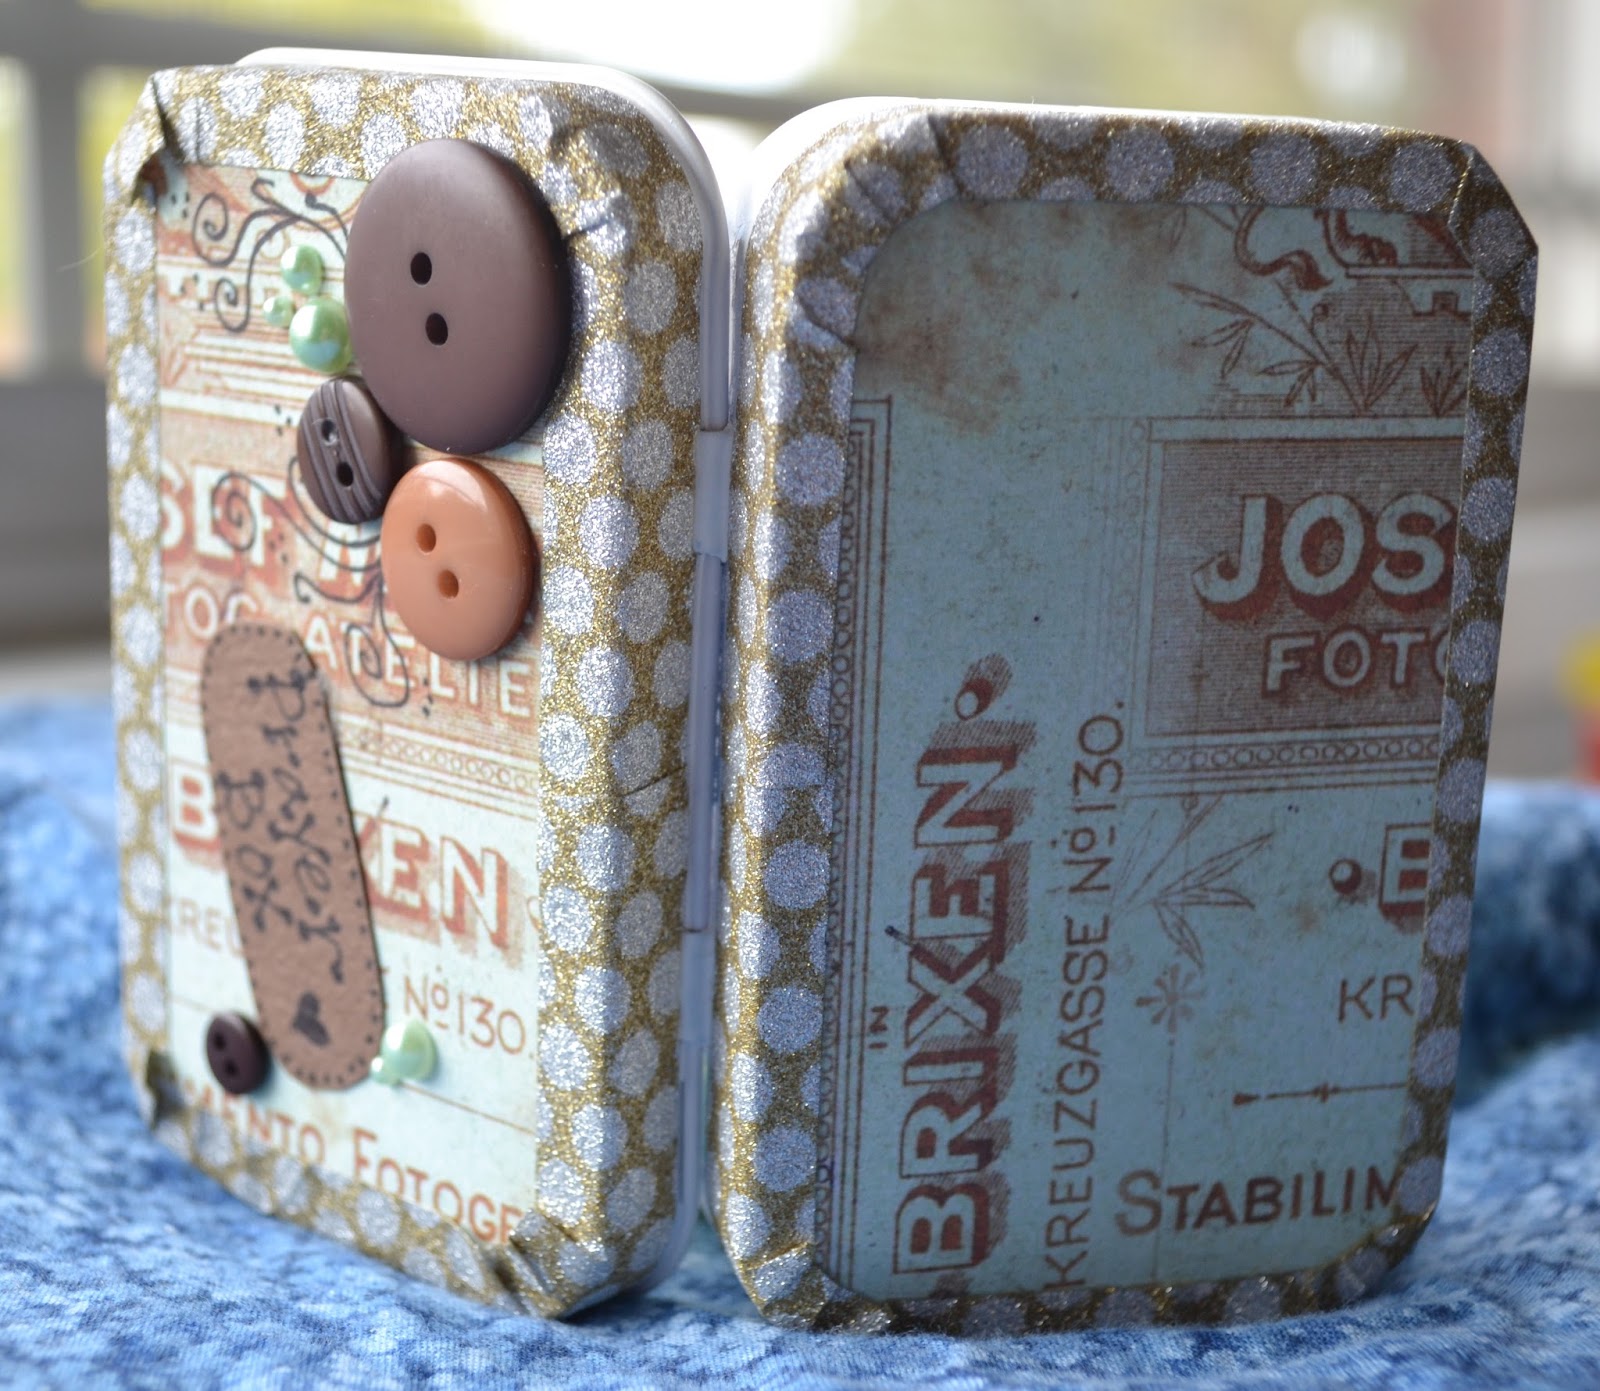
The top cover of my decorated tin

By Angie Quantrell @AngieQuantrell

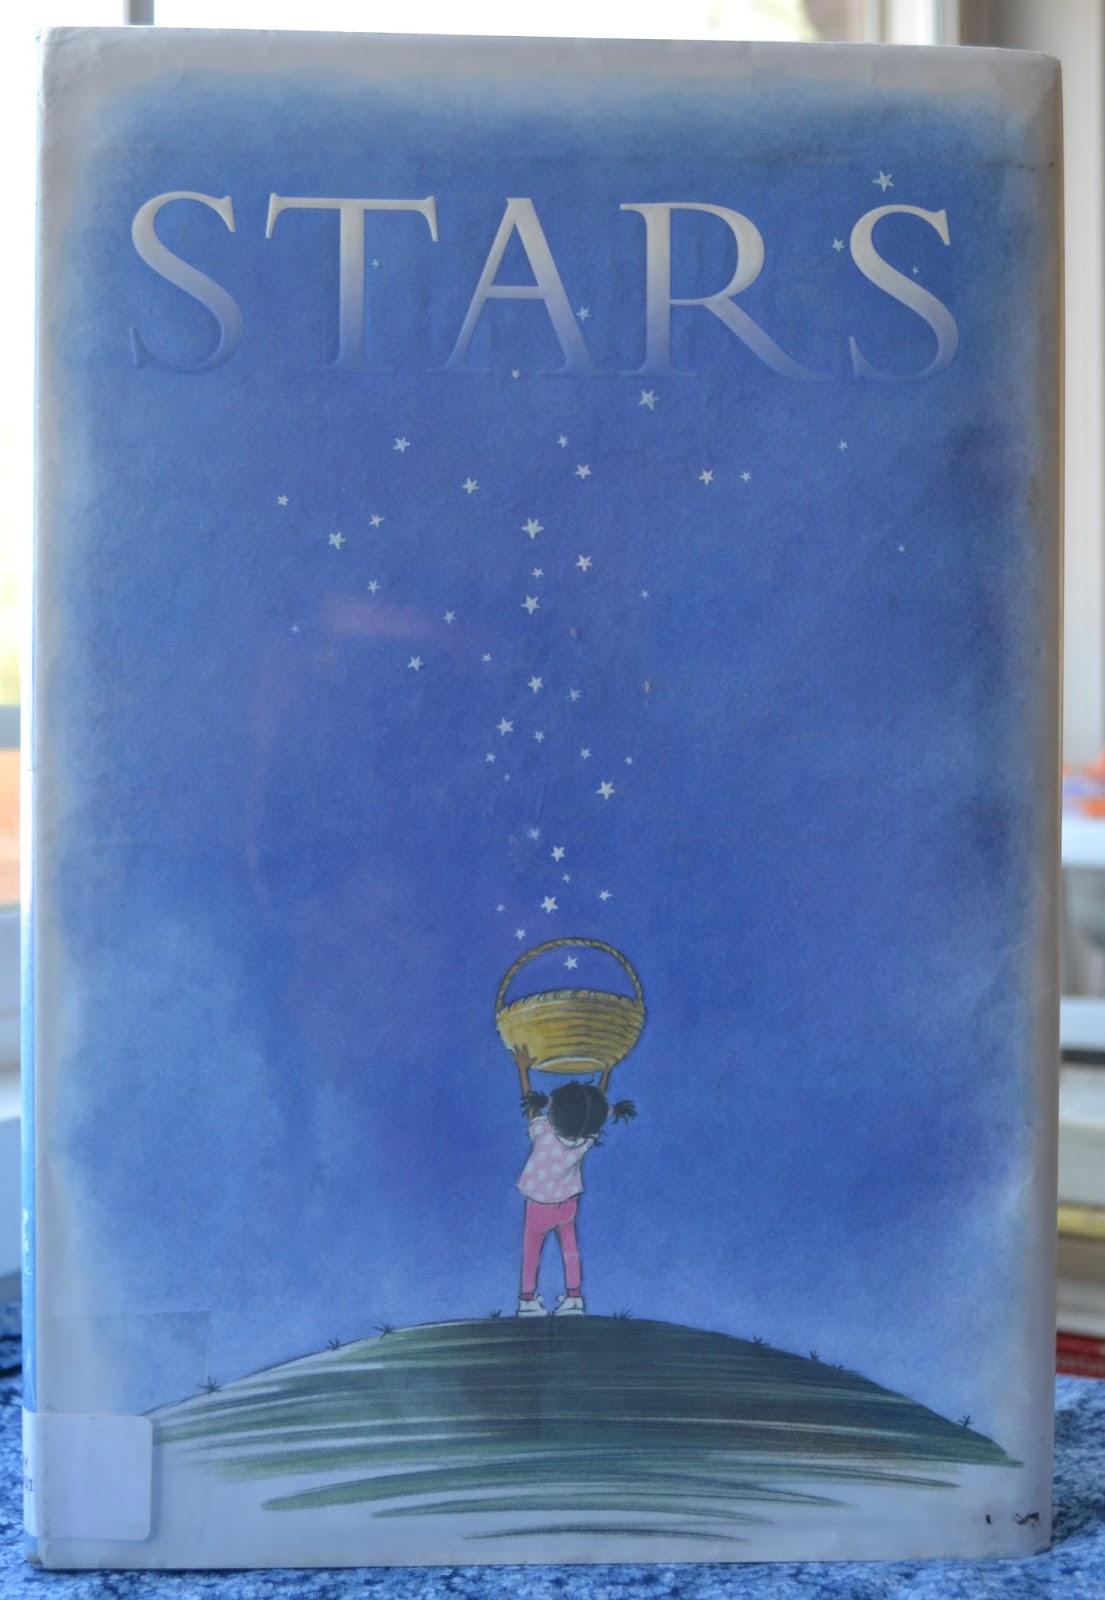
I joined a group of ladies to make these pretty prayer boxes last weekend.

I recently attended the Columbia Basin Baptist Association’s Annual Women and Teenage Girls’ Retreat at Camp Touchet, just outside of Dayton, Washington. What a beautiful, if somewhat remote and out of cell coverage zone, location!

Much fun was had Friday night when our craft lady and photographer shared her idea and supplies with us. We made these fun prayer boxes!

Of course, the boxes could be used for anything, but we were at a retreat that featured prayer, so our boxes were prayer themed.

So make use of those empty Altoid or Ice Chip metal tins and create to your hearts’ content.

The top and bottom of my tin

Decorated Metal Tins

Materials:

empty metal tins

spray paint

decorated scrap paper

scissors

pencils

thin-tipped permanent markers

craft glue

washi tape

buttons, ribbon, stickers, gems, glitter glue, and assorted embellishments

1. In advance, spray paint the outside of the tin, including top, bottom, and sides. Let dry.

2. Trace the tin bottom on decorated scrap paper. Cut it out and trim to fit. You can use this as a template for the bottom, top, and inside top of the tin. Glue in place with craft glue.

3. I loved the look of the washi tape, so I edged the top and bottom with washi. It doesn’t stick very well around the corners by itself, so I need to glue down the corners.

4. Add buttons, butterflies, stickers, or any embellishments you want. Make a decorated label for the lid to tell what the tin is for. Glue to top.

5. I also decorated the inside of the lid. You can see the little poem that we included in our lids.

6. I left the bottom empty, but added small pieces of paper for notes and a short pencil (our craft person found them on Amazon – just search for mini mechanical pencils).

The inside poem, note paper, and pencil

Et voila! You are ready to take notes, write down thoughts, pen tiny masterpieces, or scribe prayers.

How are you going to use this craft idea? I think it would be great for a camp project!